For embroidery lettering, your stitch choice matters. The running stitch or back stitch is ideal for straight, equally sized letters or block outlines. The stem stitch or chain stitch adds volume and texture, perfect for cursive and script fonts. The satin stitch is your go-to for filling in larger letters, while a split stitch adds texture and a whipped back stitch provides smooth lines. French knots and the couching stitch technique are employed to create highlights. Each stitch offers unique effects to enrich your embroidery project. There’s plenty to discover about embroidery techniques, so why not get started and broaden your skills?
Key Takeaways
- Running and back stitches are ideal for straight lines and block letters, offering simplicity and uniformity.
- Curved stitches such as stem, chain, and satin are ideal for cursive fonts and filling in large letters to create a textured, full appearance.
- For detailing, split stitch and whipped back stitch add texture and dimension, while providing versatility in outlining or filling shapes.
- Decorative stitches like couching and French knots enhance visual appeal, adding unique texture and finishing touches to lettering.
- Securing the last stitch is important to keep embroidered letters from unraveling and ensure a neat, professional appearance.
Hand Embroidery Stitches for Letters
In hand embroidery, the choice of stitch can significantly impact the clarity and style of your lettering. From the simplicity of the running stitch to the rich texture of the chain stitch, each offers unique benefits.
Let’s explore these stitches in more detail to help you select the best options for your lettering projects.
Running Stitch
Running stitch is great for making evenly sized straight stitches in letters. As a beginner, the simplicity of the running stitch makes it an ideal starting point. It works well with capital letters and angled fonts, resulting in light, well-spaced lettering. However, it’s not the best choice for complex script fonts due to its straightforward nature.
The running stitch can be worked stitch by stitch or on the surface, adding to its versatility. Practicing the running stitch can enhance your embroidery skills, leading to neat and uniform designs.
Back Stitch
The back stitch is great for clear, crisp outlines in hand-embroidered lettering. This stitch is quite popular due to its simplicity and effectiveness. It’s especially ideal for creating neat, block letter outlines or detailed single/double layer lettering.
With the back stitch, you can:
- Achieve a neat, professional finish on your embroidered letters.
- Maintain consistent spacing for a uniform look.
- Shorten your stitches around curves for better results.
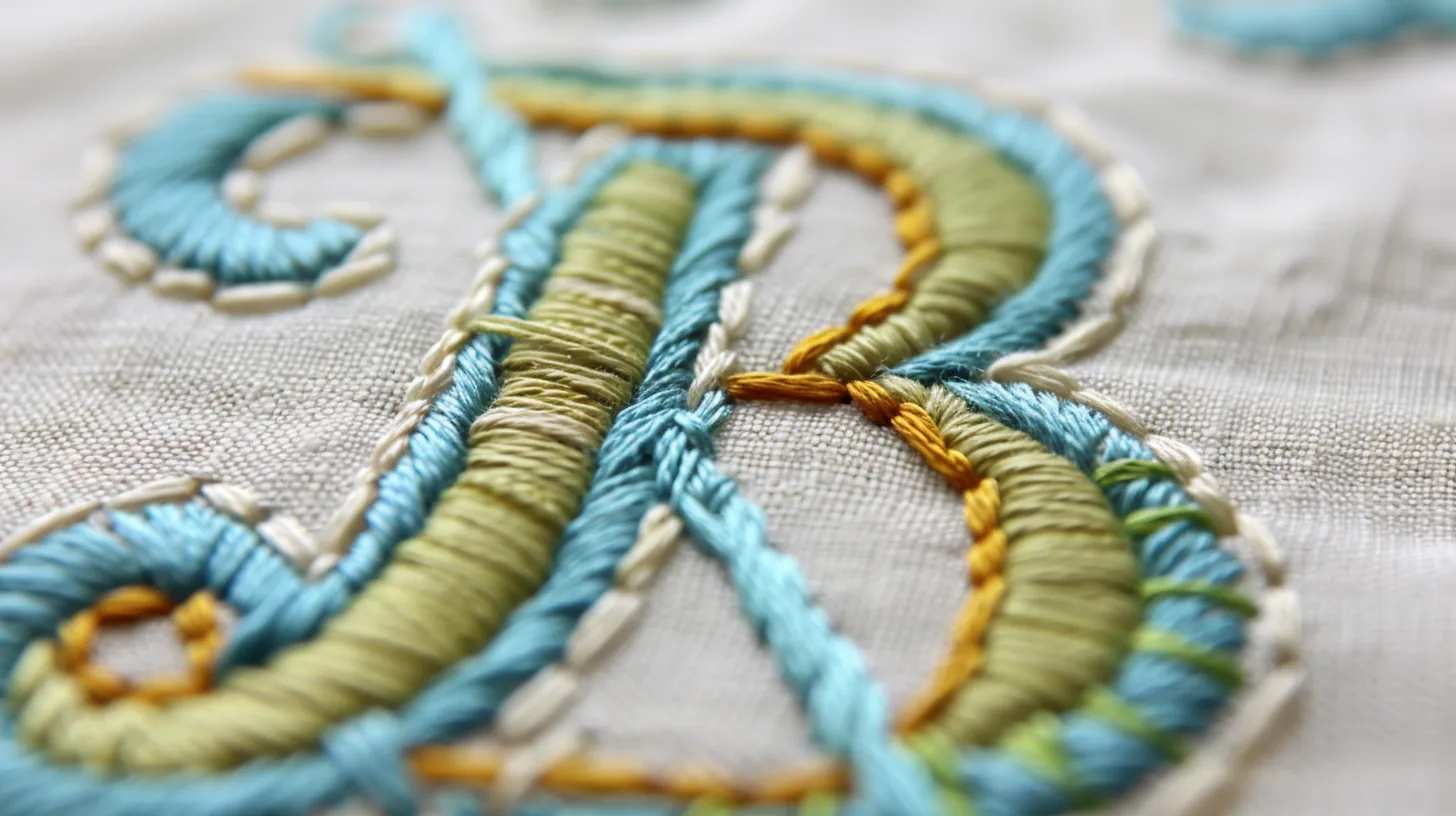
Stem Stitch
For creating cursive and script fonts in hand embroidery, the stem stitch is your ideal choice. It brings a beautiful, curved, continuous line that’s perfect for such fonts. This hand-embroidered stitch creates a twisted rope appearance. It adds a unique surface dimension to your letters. It is especially suited to intricate, vine-like designs embedded within letters.
To achieve this, you start by bringing the floss up through the fabric for one stitch. Then continue stitching next to the previous stitch. You can manipulate the previous stitch to create curvature and flowing lines, resulting in a stunningly handcrafted letter. Mastering the stem stitch will allow your embroidery projects to shine with a professional and elegant touch.
Chain Stitch
The chain stitch is great for making embroidered letters look textured and full, but it takes more patience and time. This stitch is especially effective for creating thick and textured lines in your lettering projects.
- Chain stitch is ideal for loopy curves, adding a unique dimension to your letters.
- Consistency is key – maintaining a short and even stitch length is crucial.
- While it may take longer, the results are worth the wait.
Satin Stitch
The satin stitch is a popular and versatile method for embroidering letters. It offers a smooth, shiny finish when filling in larger letters or initials. This stitch creates a dense, polished surface by placing threads closely together, improving the look of your embroidery.
However, it can be challenging for beginners as it requires consistent stitch lengths and tension. Despite this, don’t shy away from experimenting with the satin stitch. Try using different thread types and colors to create unique effects. Remember, the satin stitch is your go-to for a refined, smooth finish to your embroidered letters. Master it, and you’ll elevate your embroidery skills to a new level.
Split Stitch
The split stitch adds texture and dimension to embroidered letters, looking like a braid. It’s a versatile hand embroidery stitch that’s perfect for creating precise, continuous lines in your lettering.
As you embark on your hand embroidery journey, keep these points in mind:
- The split stitch adds a distinct texture to your work, enhancing the overall aesthetic appeal of your lettering.
- To create this stitch, you’ll push your needle through the center of the previous stitch, ensuring a continuous line.
- The split stitch can outline or fill in letters in embroidery, making it versatile.
Whipped Backstitch
The whipped stitch creates smooth and polished lines in embroidery text. This variation of back stitch produces a refined look, ideal for outlining letters in hand embroidery.
You can easily modify line thickness by adjusting the number of floss ply. Using more plies results in a thicker line, perfect for large letters. Conversely, using fewer plies results in a finer line, ideal for small lettering.
Couching Stitch
Don’t ignore the couching stitch in embroidery; it’s great for creative lettering. This stitch involves placing strands of thread on fabric and securing them with small stitches to create a special texture and appearance.
- Experiment with variegated floss to add depth and interest.
- Vary the number of strands to alter the thickness and appearance of your letters.
- Combine couched floss with a solid thread for added dimension.
The couching stitch offers a range of creative possibilities for your embroidered letters. By manipulating the floss and thread, you can achieve a variety of effects, making your lettering truly stand out. So, explore the potential of the couching stitch in your next embroidery project.
French Knots
For adding finishing touches to your embroidered letters, like dots and punctuation marks, French Knots are your go-to stitch. These tiny, intricate knots mimic the look of handwritten letters, giving your work a personalized touch.
Start by threading your Straw needle with embroidery thread. Wrap the thread around the needle, then pull it through your fabric, maintaining tautness for a secure finish. Place your needle near the last stitch but not in the same hole for a uniform look.
Learning the French Knot stitch might be challenging at first. But with practice, it adds a special touch to embroidered letters.
Tips for Embroidering Letters Perfectly
As you master the art of embroidery, perfecting your lettering skills can elevate your work to the next level. Ensure that the thread jumping between two letters is kept short. Additionally, securing the last stitch carefully ensures a neat finish.
Tip 1: Keep the Jumping Thread between Two Letters as Short as Possible
For a cleaner and more professional-looking embroidery, keep the thread that jumps between two letters short. This tip is especially important when using back stitch or whipped stitch for your font. Not only does it minimize the risk of tangling, but it also enhances the legibility of your letters.
Here are a few more reasons to keep the jumping thread short:
- It makes the overall design appear neater.
- It eliminates visible gaps or loops between letters.
- It contributes to the quality and precision of your embroidery.
Remember to shorten the stitches around curves for a more polished look. Neatly managing the jumping thread is a sure way to perfect your embroidery lettering.
Tip 2: Secure the Last Stitch Carefully
When finishing your embroidery lettering, secure the last stitch well for a neat and professional look. Securing the last stitch well keeps your embroidery from coming undone and makes it look neat.
To do this, simply pass the needle under the previous stitch, effectively anchoring the last stitch. This step might seem minor, but it’s key to achieve perfect embroidery lettering. Carefully hiding thread ends under previous stitches enhances the look of your work, leaving you with a clean, professional-looking result.
Applications of Embroidered Letters
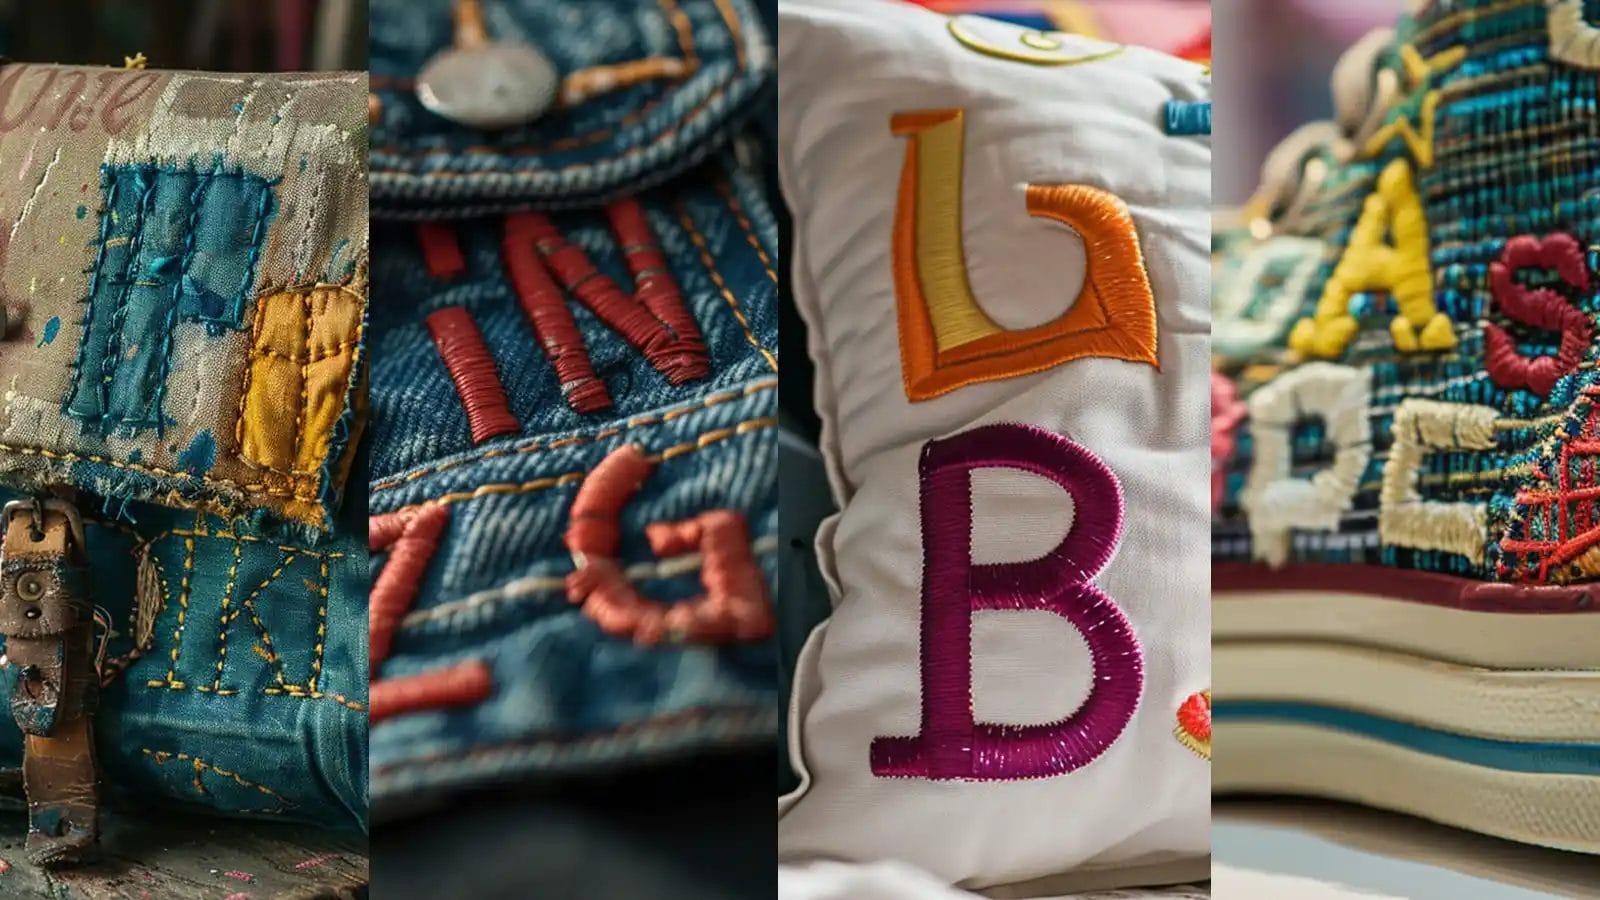
Embroidered letters are not only traditional but also versatile. It can be used for customizing gifts and adding unique designs to clothes. Embroidery allows you to add a personal touch to almost anything, making it a popular choice in crafting.
- You can embroider initials or names onto towels, napkins, or bags. This creates custom, personalized gifts.
- Add a unique flair to your home decor by embroidering letters onto throw pillows, wall hangings, or quilts.
- Use embroidered letters to display your favorite quotes or messages in a visually appealing way.
Conclusion
So, there you have it! Embroidery lettering is a rewarding journey of creativity and precision.
Mastering basic embroidery stitches will set you on the right path. Remember to tweak your embroidery floss ply and keep your stitches short on curves for a polished finish.
Whether you’re embroidering monograms, quotes or decorative elements, these techniques will give your work a professional touch.
Happy stitching!