As you prepare to embroider a circle, you’re likely wondering where to start. You’ve got the fabric marked with a circle shape, and now it’s time to decide on a stitch for the outline. Will you choose a classic back stitch or try something more decorative like chain stitch? Whatever your choice, it’s essential to maintain even, consistent stitches. But what about filling the circle? That’s where things can get fascinating – and we’ll get to that in just a moment.
Key Takeaways
- Mark the circle shape on fabric before stitching to ensure accuracy and precision.
- Choose the right stitch type, such as back stitch, chain stitch, or stem stitch, based on the desired circle outline.
- Keep stitches evenly spaced and consistent to maintain a smooth circle shape.
- Use a stencil to draw a circle for precise outlines, especially for intricate designs and patterns.
- Practice on scrap fabric to perfect stitching technique and adjust stitch length based on circle size.
How to Embroider a Circle Outline
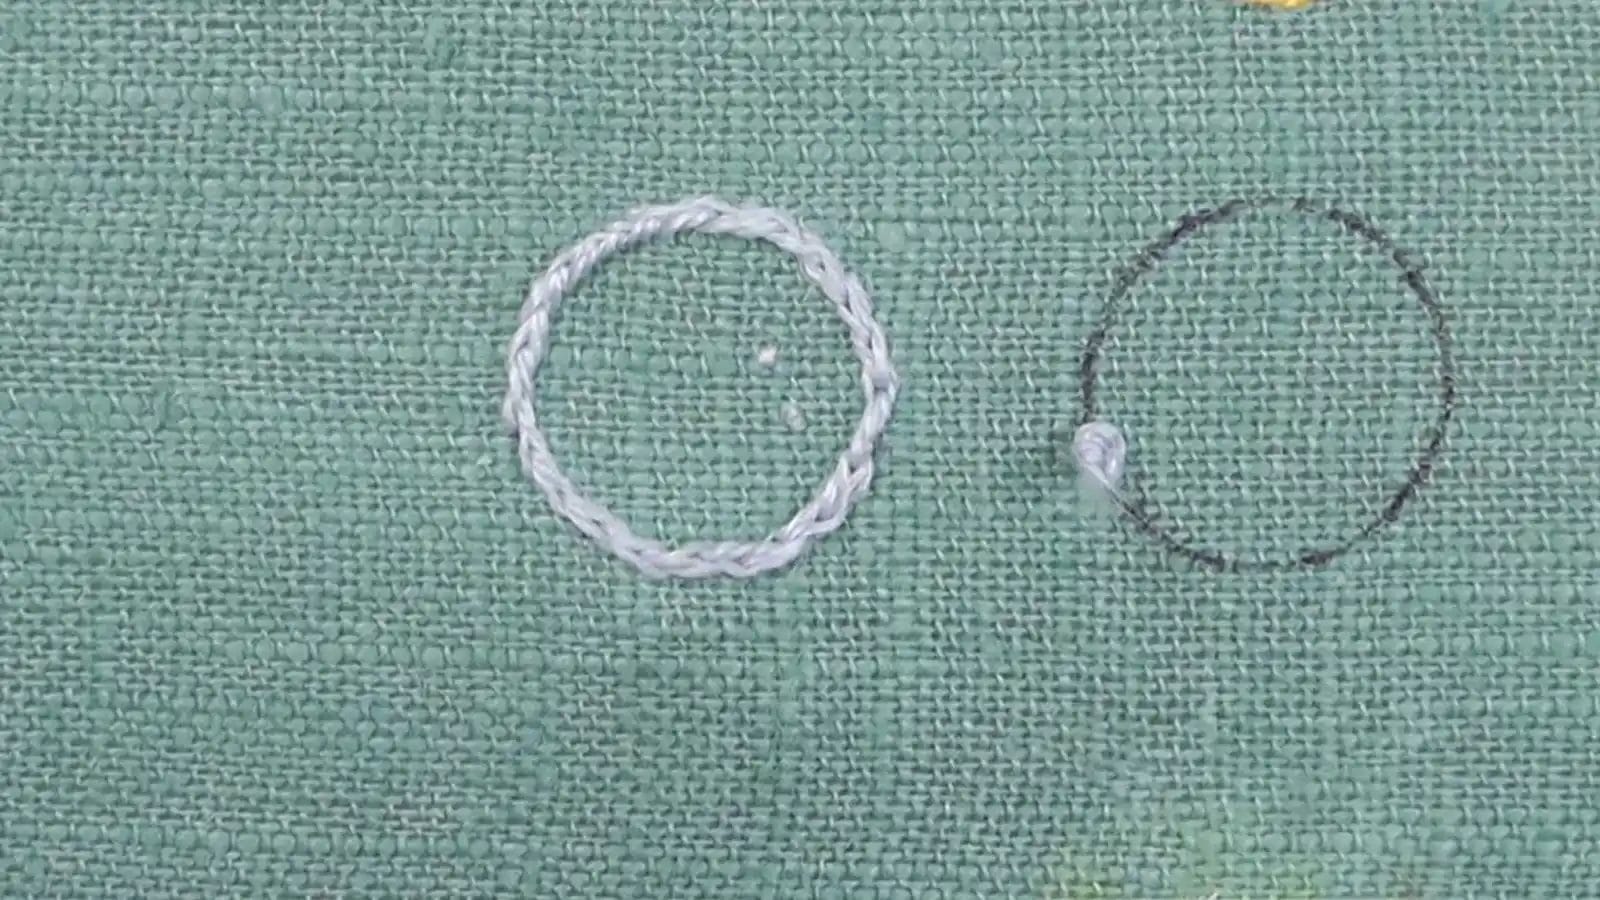
You’re ready to choose the perfect stitch for your circle outline. Here’s a list of common stitches that I’ll use in circle embroidery.
Back Stitch
Mark the circle shape on your fabric with a marking tool before stitching, as this will help guide your back stitch outline. This will ensure your stitches are even and consistent.
To start, bring your needle up at the top of the circle and insert it back into the fabric about 1/4 inch away. Continue making small straight stitches around the circle, weaving your needle in and out of the fabric. Make sure to keep your stitches evenly spaced and the same length.
As you work your way around the circle, your back stitch outline will start to take shape. Remember to keep your tension even, and don’t pull the thread too tightly, as this can cause puckering.
Chain Stitch
To create a beautiful, rounded chain stitch circle outline, envision where you’ll place the first stitch. Carefully position the needle at the starting point of your marked circle.
Take the needle up at the starting point and create a loop with the thread on the fabric. Insert the needle back into the fabric close to where the thread came up, catching the loop to form the first chain stitch. Continue making chain stitches around the circle, keeping them evenly spaced and following the marked outline.
Stem Stitch
Start stitching from the top of the circle using the stem stitch, and work your way around to create a smooth outline. Use a single strand of stranded cotton floss or pearl cotton floss for a delicate outline. Keep your stitches close together, maintaining a consistent tension to achieve a smooth line. The stem stitch is perfect for hand embroidery, creating a beautiful, handcrafted look.
Split Stitch
Now you’re ready to explore another versatile outline stitch – the split stitch. It can be used to embroider a beautiful circle outline.
To create a circle outline with split stitch, start by bringing the needle up through the fabric and then splitting the thread with the needle. Continue splitting the previous stitch with each new stitch to create a solid line for the circle outline. Adjust the spacing between the stitches to control the curve of the circle.
How to Fill an Embroidered Circle
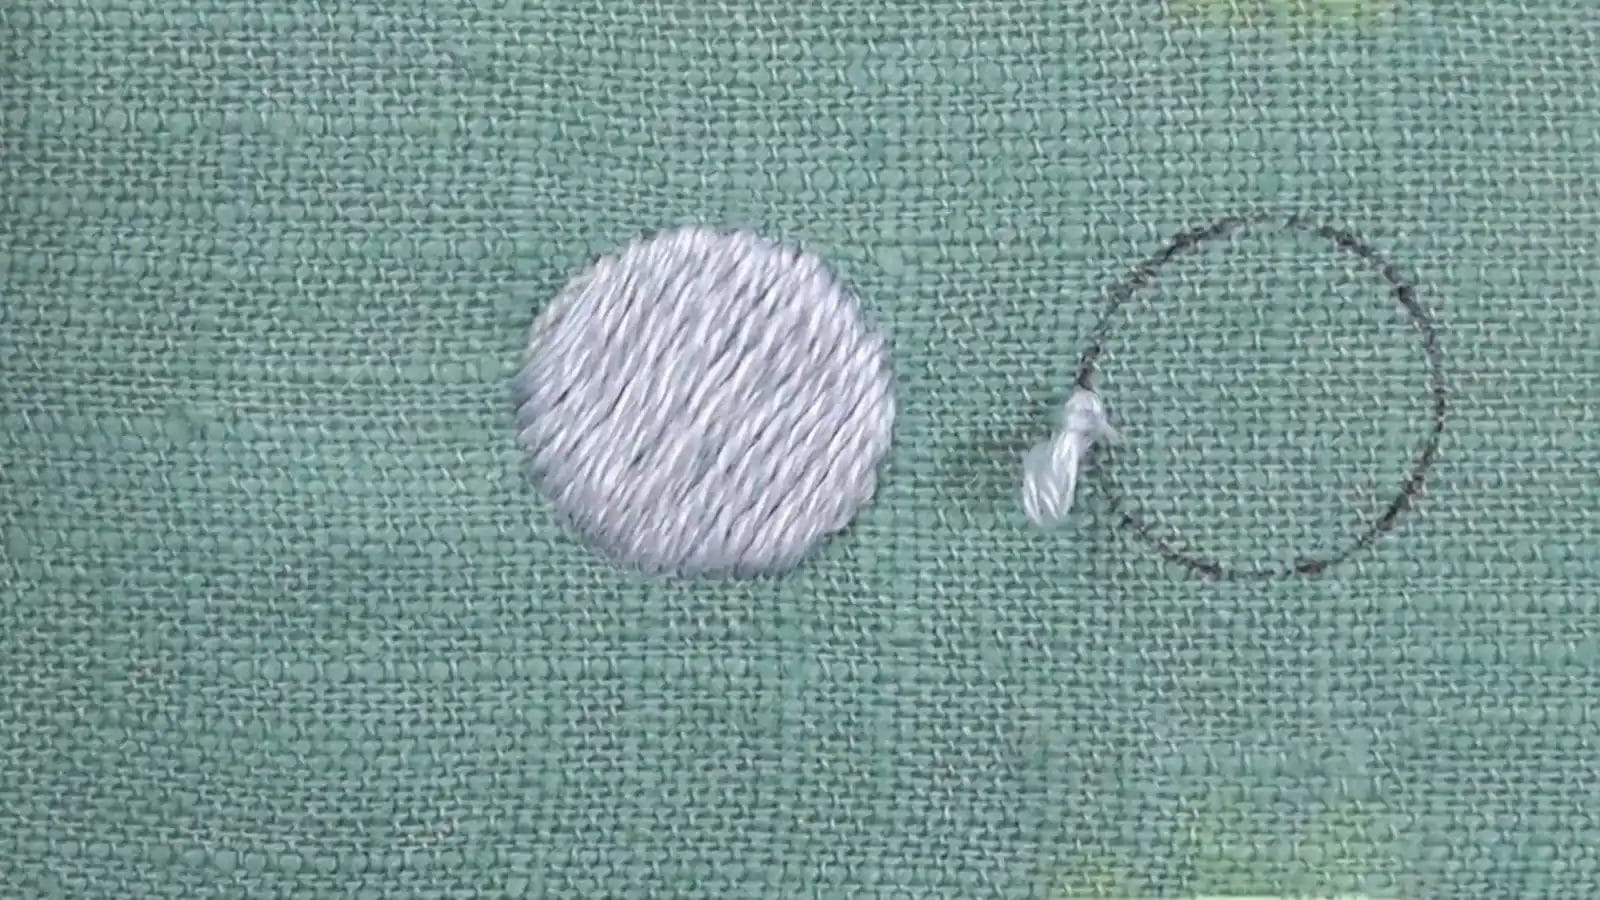
Now that I’ve outlined the circle, it’s time to fill it in!
Padded Satin Stitch
To create a raised effect in your embroidered circle, you can use padded satin stitch. This technique involves layering multiple rows of satin stitches. Start by outlining your circle with a back stitch or split stitch, then fill it in with padded satin stitches. To create a smooth, raised effect, make sure to layer multiple rows of satin stitches close together.
Couching Stitch
You can create a lovely design by using the couching stitch technique. Just lay a thicker thread or yarn over your embroidered circle in the pattern you want. Place the thicker thread or yarn over the circle in your desired pattern. Use small couching stitches to secure the thread in place, creating a filled look within the circle. With the couching stitch, you can add visual interest and depth to your embroidery.
Woven wheel Stitch
To start your embroidered circle, create a small circle outline and add tacking stitches at key points around the circle. This will prepare the foundation for a beautiful woven wheel stitch pattern. To start, weave your needle under and over the tacking stitches, gradually filling in the circle with a woven appearance. Experiment with different thread colors and densities to create unique and eye-catching patterns. With the woven wheel stitch, you’ll be able to embroider intricate designs and floral motifs with ease.
Blanket Stitch
To fill an embroidered circle with a blanket stitch, start by outlining the circle with a simple stitch. Then, create evenly spaced loops along the outline, securing each loop by stitching through the fabric at the end. Continue filling the circle with blanket stitches, overlapping each loop slightly to ensure complete coverage.
Woven Circle Stitch
You can enhance your embroidered circles by learning the woven circle stitch. This stitch adds texture and visual interest to your designs.
This advanced embroidery technique involves making straight stitches around the circle’s perimeter and weaving the thread through them. As you work the stitch, you’ll create a beautiful, textured circle that adds depth and dimension to your embroidery.
Tips for Embroidering a Circle
As you start embroidering a circle, remember to take a few helpful tips and tricks to ensure accuracy and precision.
Mark the fabric before embroidering.
Use a water-soluble fabric pen or tailor’s chalk to carefully mark the circle shape on your fabric. This step is crucial in achieving a precise circle shape in your embroidery.
Use a stencil to draw an even circle.
Use a stencil to draw a perfect circle on your marked fabric. This circle will be the base for your embroidery design. A stencil is a handy tool that ensures precision and consistency in your circle’s shape and size. Simply place the stencil on your fabric and trace the circle with a pencil or marker. This will give you a precise outline to follow as you embroider.
Embroider a circle with a short stitch length.
To create a smooth circle, keep your stitches short. Aim for lengths between 1/8 to 1/4 inch, adjusting as needed based on the size of the circle. This short stitch length helps maintain the shape of the circle and prevents the fabric from puckering.
How to Fix an Irregular Shaped Circle
When your embroidered circle turns out irregular, don’t panic – it’s easier to fix than you think!
First, add outline stitches along the edge of the circle to help define its shape. This will help create a more defined border and distract from any unevenness.
Next, fill in the circle with satin stitches to smooth out any remaining imperfections. You can also incorporate decorative stitches or embellishments to draw attention away from any irregularities.
If needed, add beads, sequins, or other accents around the circle to further distract from imperfections.
Conclusion
You’ve mastered the art of embroidering a circle! You won’t be worried about embroidering a circle. With practice, patience, and the right stitches, you can create beautiful, smooth circles. Remember to start small and work your way up to larger circles.
Don’t be too hard on yourself if your first attempts aren’t perfect – it’s all about refining your technique. Now, go ahead and embellish your fabric with gorgeous, rounded designs!

