As you prepare to embroider with ribbon, you’re likely wondering where to start. You’ve chosen your fabric and secured it in an embroidery hoop, but now it’s time to select the perfect ribbon. With a chenille needle in hand, you’re ready to begin. But which stitches will you use to bring your design to life? Will you opt for the classic straight stitch, the delicate ribbon stitch, or perhaps the intricate French knot? The possibilities are endless, and the next steps will make all the difference in creating a stunning ribbon embroidery piece.
Key Takeaways
- Choose a sturdy fabric base and high-quality ribbons in various colors, widths, and textures for a stable embroidery foundation.
- Select a suitable needle, such as a chenille needle, to prevent fraying and ensure smooth stitching.
- Prepare your embroidery hoop by selecting a size that accommodates your design.
- Cut ribbon into shorter pieces, and use basic stitches like straight stitch and ribbon stitch for different effects.
- Secure excess ribbon by sewing small stitches to prevent it from coming loose over time for a professional finish.
Gather Your Supplies
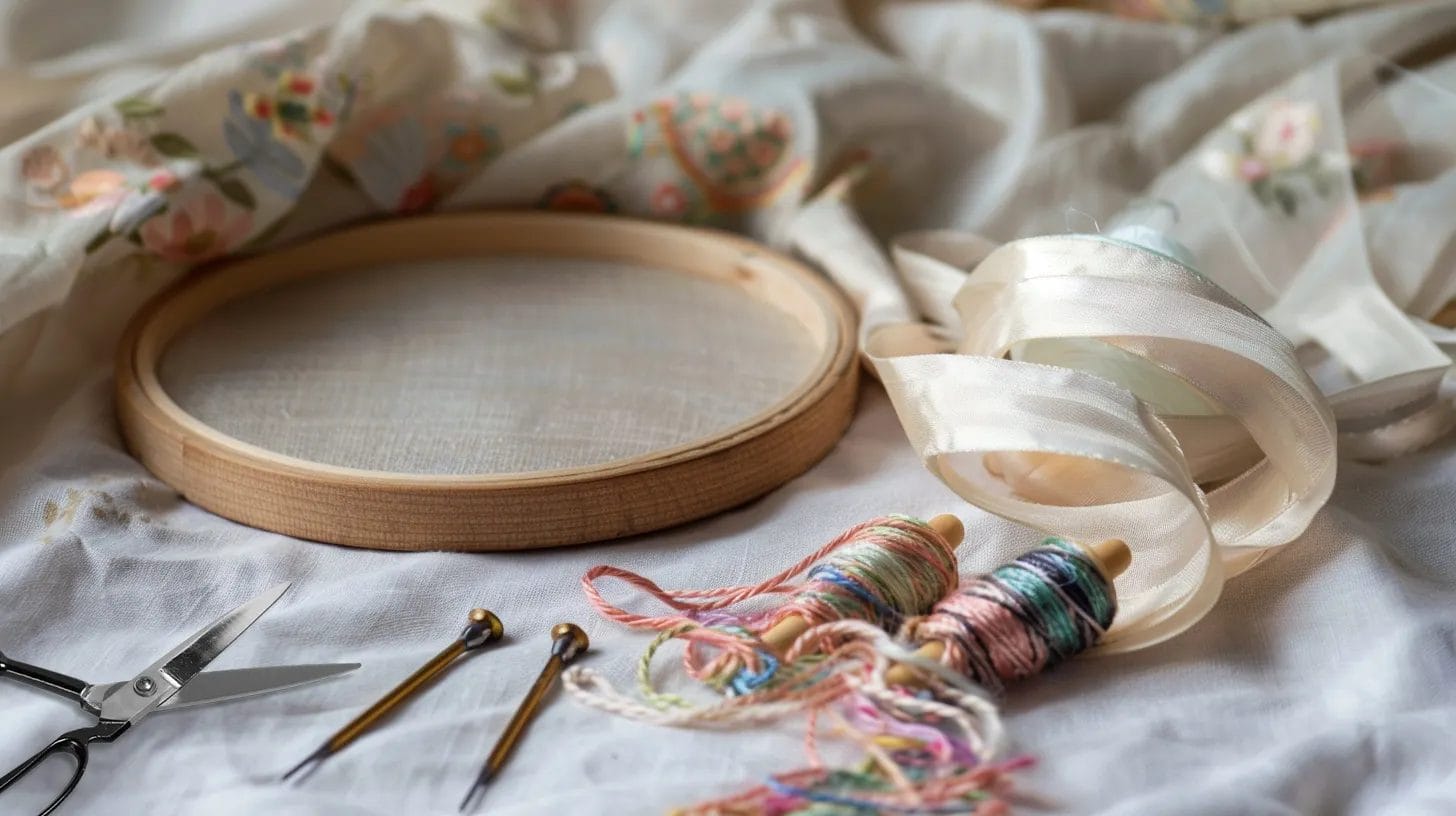
Now it’s time to gather the essential supplies for your ribbon embroidery project.
Specialty Needles for Ribbon Embroidery
The first essential item to gather is a specialty needle designed specifically for ribbon embroidery, such as a chenille needle. This type of needle is crucial for silk ribbon embroidery. It has a large eye and a sharp point to easily accommodate the delicate silk ribbons. The thick shaft of the chenille needle also prevents fraying of the ribbon during stitching.
Ribbons
You’ll need to buy high-quality ribbons in various widths, colors, and textures to create visually appealing embroidery designs. Silk ribbons are commonly used for ribbon embroidery. They are available in widths of 4 mm or 7 mm on spools.
Fabric
Secure a tightly woven fabric like denim or quilting cotton as your base. Avoid loosely woven fabrics like burlap, as they won’t hold the ribbon securely. You’ll want a fabric that can support the weight and texture of the silk ribbon.
Embroidery Hoop
It’s time to prepare your embroidery hoop. Choose a size that fits your design well and allows for easy and precise stitching. Choose a hoop that’s slightly larger than your design to ensure the fabric and ribbon lie flat.
Sharp Scissors
To ensure precise cuts and prevent fraying, choose a pair of sharp scissors specifically designed for cutting silk ribbons. With sharp scissors, you’ll achieve professional-looking results and enjoy the process of embroidering ribbon.
How to Embroider with Ribbon
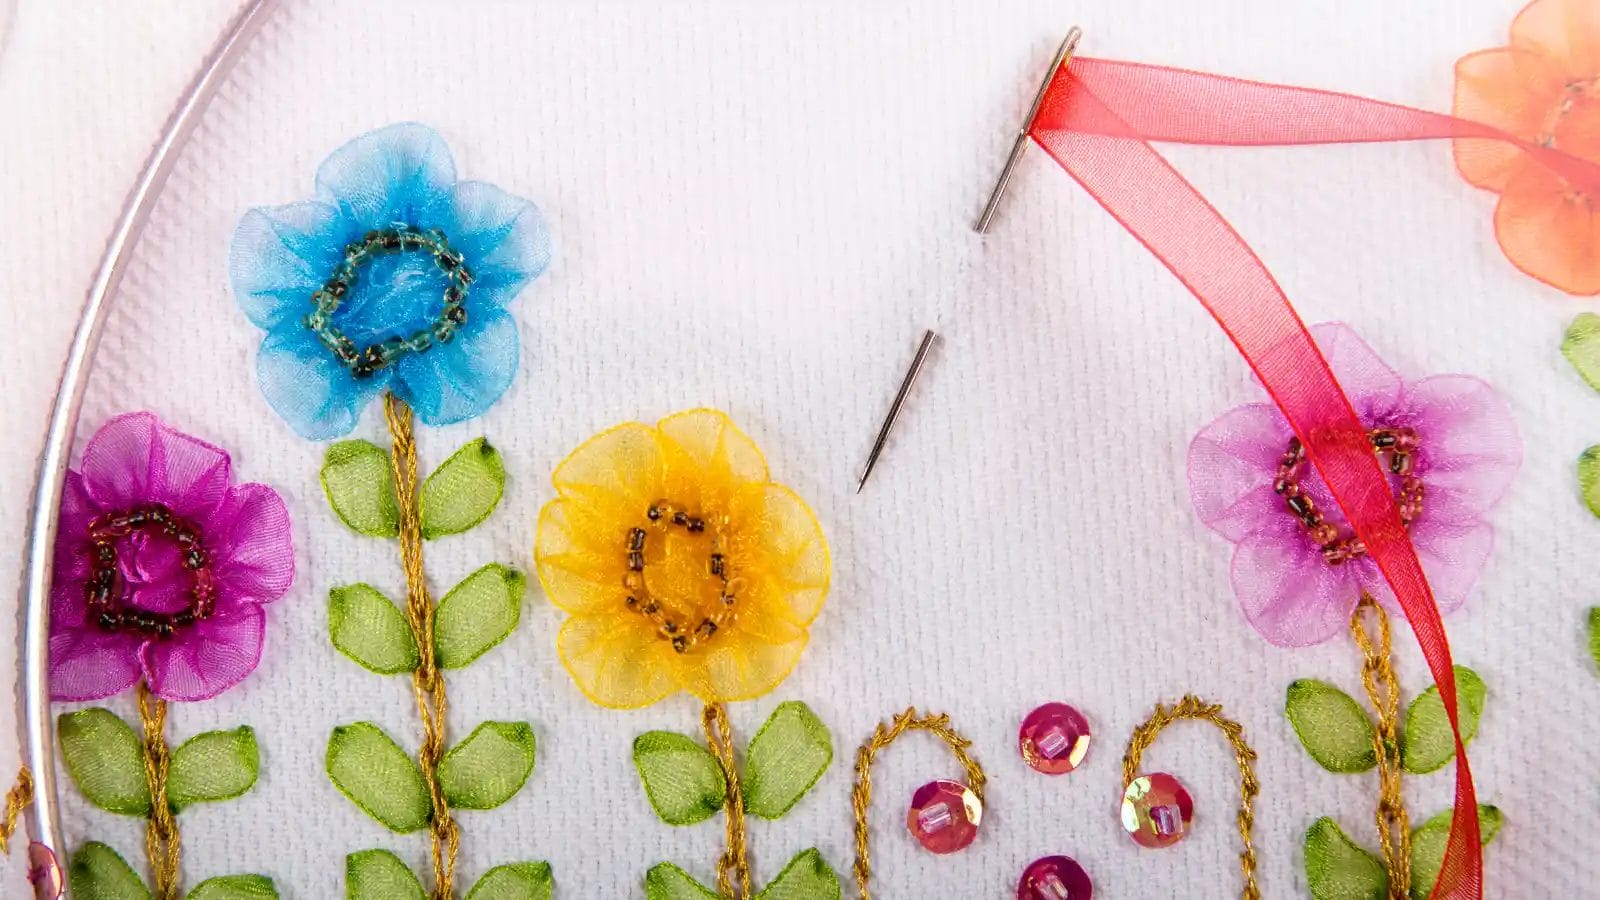 Now it’s your turn to start embroidering with ribbon!
Step 1: Cut short pieces of ribbon.
Cut your ribbon into 12 to 18-inch pieces to prevent fraying and make it easier to handle. This will give you better control over the ribbon as you embroider. Working with shorter lengths helps keep the silk ribbon intact and prevents tangling or getting caught on other stitches.
Step 2: Thread the ribbon through the needle’s eye and pierce the end with the needle.
Thread the ribbon through the large eye of the needle, then pierce the end of the ribbon with the needle. Hold the ribbon taut as you thread it to prevent fraying. If needed, use a ribbon threader to guide the ribbon through the needle’s eye.
Once the ribbon is through, gently pierce the end with the needle, making sure it’s secure. This will help you maintain control while stitching and prevent the ribbon from slipping out of the needle. Take your time, and make sure the ribbon is properly threaded and pierced before moving on to the next step.
Step 3: Pull the ribbon to secure it.
Gently pull the ribbon to secure it in place, taking care not to pull too tightly and damage the fabric. You want to apply gentle, consistent pressure to ensure a smooth finish.
Avoid pulling the ribbon too tightly, as it can cause the fabric to pucker or the ribbon to bunch up. Instead, pull the ribbon with a steady, gentle pressure to secure it in place. This will help you achieve a professional-looking finish in your ribbon embroidery.
With practice, you’ll get the hang of pulling the ribbon gently and evenly.
Step 4: Start embroidering with ribbon.
Now begin creating your embroidery design.
As a beginner, start with simple stitches like the straight stitch or French knot to get a feel for the ribbon. Experiment with different stitches and textures to add depth to your design. Mix and match ribbon colors and widths to create a visually appealing piece.
Step 5: Cut the excess ribbon after finishing embroidery.
Cutting excess ribbon is a crucial step in completing your embroidery project. You’ll want to carefully trim the ends to maintain a polished finish. To do this, use sharp scissors to cut the ribbon, making sure not to distort the surrounding stitches.
Trim the ribbon close to the fabric without cutting into the stitches to maintain the pattern. Take your time when cutting the excess ribbon to avoid any accidental snipping of the embroidery itself.
Step 6: Use a threaded needle to secure the end of the ribbon on the sewn ribbon.
Now that you’ve trimmed the excess ribbon, take out another needle and embroidery floss. Use a threaded needle to secure the end of the ribbon on the sewn ribbon, ensuring a professional finish.
Thread your needle with embroidery floss that matches the ribbon color. Then, sew a few small stitches to secure the end of the ribbon, making sure they’re hidden, and the ribbon is firmly in place.
Basic Stitches for Silk Ribbon Embroidery
As you start exploring silk ribbon embroidery, you’ll want to master different types of embroidery stitches.
You’ll learn three stitches: the straight stitch for outlines and filling, the ribbon stitch for petals and leaves, and the French knot for texture and dimension.
Extra stitches like lazy daisy and stem stitch can add intricate and beautiful details to your embroidery.
Straight Stitch
In silk ribbon embroidery, the straight stitch is crucial for creating lines, filling shapes, and adding texture to your design. This basic stitch is a fundamental component of silk ribbon embroidery.
To make a straight stitch, bring the needle up through the fabric, then back down in a straight line, adjusting the length as desired. You can vary the length and spacing of straight stitches to achieve different effects. Practice the straight stitch on scrap fabric before incorporating it into your project to ensure precision and consistency.
Ribbon Stitch
To create flowing, textured lines and shapes in your silk ribbon embroidery, try using the ribbon stitch.
Start by anchoring the ribbon at the beginning point and bring the needle up through the fabric. Loop the ribbon back down, leaving a small loop on the surface, and secure it with a small stitch. Change the stitch length and ribbon angle to make floral, leaf, or stem effects.
Lazy Daisy Stitch
The Lazy Daisy stitch is commonly used to give silk ribbon embroidery a charming and whimsical touch, especially in flower designs. This stitch is perfect for creating delicate petals or leaves.
To create a Lazy Daisy stitch, thread your silk ribbon through a chenille needle and secure it to your fabric. Form a loop with the ribbon, and then secure it with a small stitch to create the petal or leaf shape. Repeat this process to add more petals or leaves, arranging them in a pattern that suits your design.
French Knots
Create a textured, dimensional focal point in your silk ribbon embroidery by mastering the French knot. It is a versatile stitch that adds depth and visual interest to your designs.
To create a French knot, bring the needle up through the fabric. Wrap the ribbon around the needle once or twice, then insert the needle back into the fabric close to where it came out. Pull the ribbon gently to tighten the knot and create a raised, rounded effect on the fabric.
Stem Stitch
Using the stem stitch, you’ll add delicate lines and outlines to your silk ribbon embroidery pieces with ease.
To master the stem stitch, bring the needle up through the fabric, take a small stitch forward, and then bring the needle back down close to the end of the previous stitch. This stitch is perfect for creating delicate stems, vines, or outlines of petals in floral designs. Remember to maintain consistent stitch lengths and spacing for a uniform and elegant look.
Conclusion
You’ve made it! With your supplies gathered, and basic stitches mastered, you’re ready to create stunning ribbon embroidery pieces.
With practice, you’ll develop your own unique style and produce beautiful, professional-looking pieces that showcase your creativity.
