You’re about to unlock the world of embroidery on canvas, a unique fusion of art and textile. To get started, you’ll need a stretch canvas, plain paper, masking tape, and a marker pen. Secure the paper template to the canvas with masking tape, then outline your design with a marker pen. But that’s just the beginning – you’ll need to create precise stitch holes and thread your needle with colorful threads. The journey’s just beginning, and with each stitch, you’ll bring your design to life. What comes next will determine the fate of your canvas – are you ready to take the next step?
Key Takeaways
- Use a stretched canvas as the base, providing a durable and stable surface for intricate designs and secure stitches.
- Transfer your design onto the canvas using a marker pen and plain paper.
- Secure the paper template with masking tape, preventing shifts during embroidery and ensuring a stable surface for hole-punching.
- Thread your needle with embroidery floss, and start embroidering with basic stitches like back stitch or running stitch.
- Practice good tension control and maintain consistency and neatness in stitching.
Supplies You’ll Need
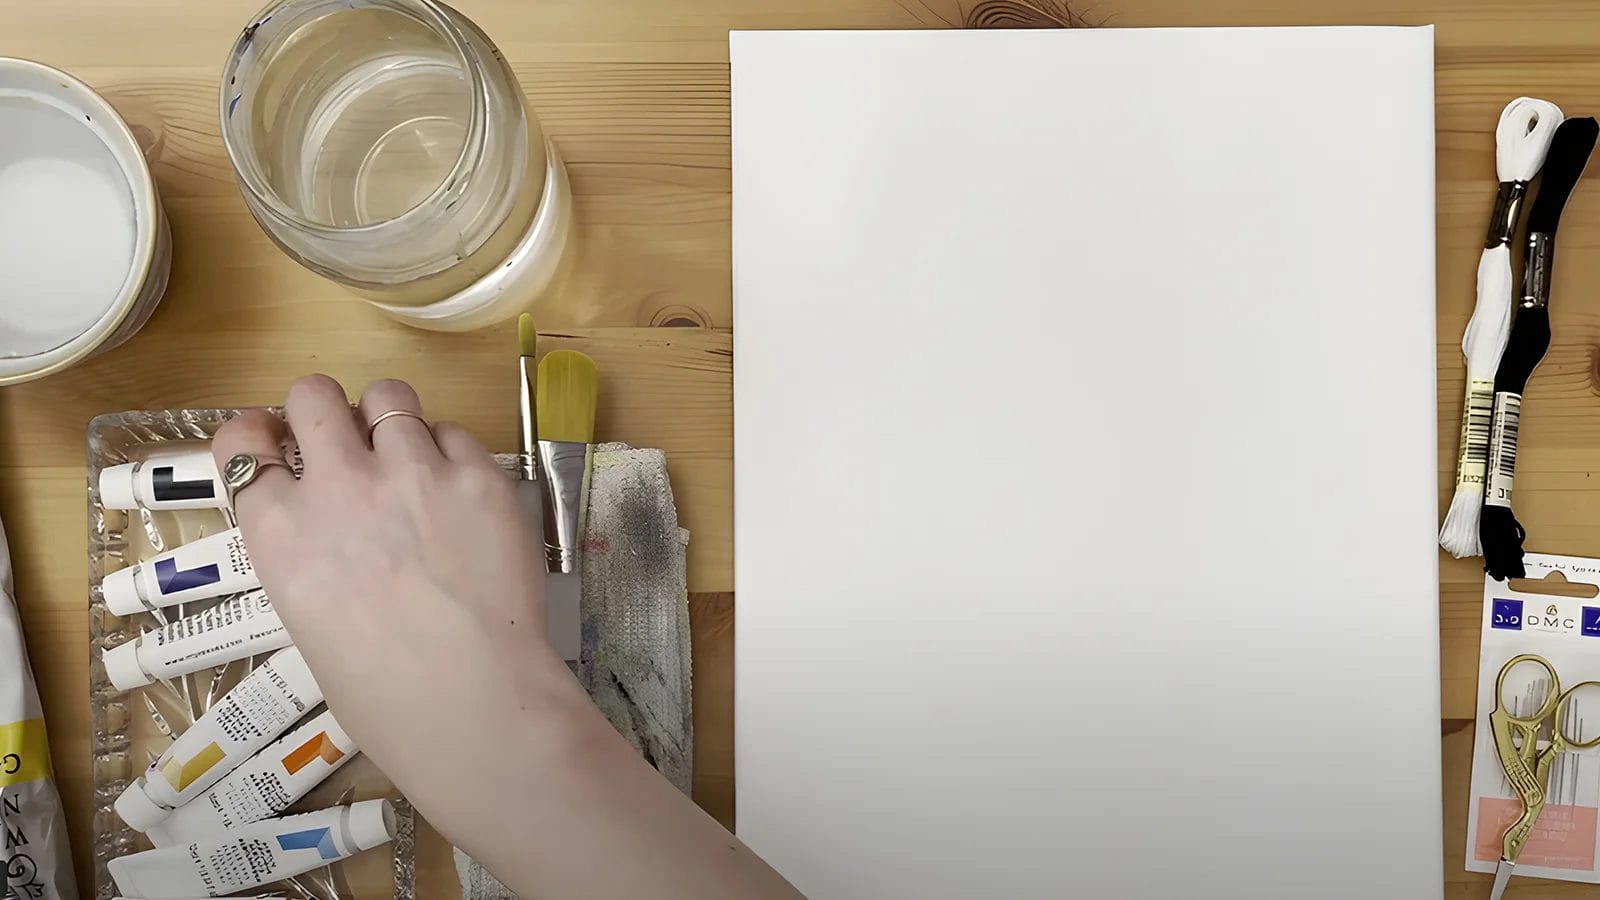
As you prepare to start your embroidery on canvas project, you’ll need to gather the essential supplies.
A Stretch Canvas
You’ll need a high-quality stretched canvas as the foundation for your embroidery project. It can provide a durable and stable surface for your intricate designs. You can find stretched canvas in different sizes at art and craft stores. It is a popular surface for embroidery.
A Plain Paper
Before starting to embroider on canvas, you will need plain paper. This paper is an important tool that will help you accurately transfer your design onto the canvas. This paper serves as a template, ensuring your design is precisely placed on the canvas. You’ll use it to create a guide for hole-punching, marking specific points on the canvas where you’ll stitch.
Masking Tape
Secure your design in place with masking tape. It is a crucial supply that ensures your paper template adheres smoothly to the canvas. It also prevents any unwanted shifts or movements during the embroidery process.
Marker Pen
You can now outline the design precisely with a marker pen. It is a tool that’s vital for achieving accuracy and precision in your embroidery on canvas project.
Embroidery Needles and Threads
You will need good embroidery needles and threads in different colors and thicknesses to create your canvas art.
Watercolor Paint
Try using watercolor paint to add a colorful and unique background to your embroidery. This versatile medium allows you to customize the background of your embroidered canvas wall art. With watercolor paint, you can achieve a one-of-a-kind background that complements your embroidery design. Just remember to let the paint dry completely to ensure a smooth embroidery process.
A Raised Pushpin
When bringing your embroidered canvas art to life, a raised pushpin can be helpful for creating precise holes for stitching. This tool helps you puncture the canvas without causing damage, creating evenly spaced holes that match your design perfectly.
How to Embroider on Canvas Wall Art
Now it’s time to bring your design to life on canvas! Here is a step-by-step tutorial.
Step 1: Cut a piece of lining paper the same size as the canvas and draw a design onto the paper.
Cut a lining paper to match the exact dimensions of your canvas. This will help you accurately transfer your design onto the fabric.
Take your black marker pen and draw your design onto the paper. Be creative and have fun with your design, whether it’s a simple pattern or an intricate illustration. Make sure to keep your design proportional to your canvas size.
Step 2: Tape the paper to the canvas.
Apply strips of masking tape along the edges of the paper to secure your design in place on the canvas. Make sure the tape is pressed firmly onto the canvas to prevent any movement during the punching process.
With your paper securely in place, you’re ready to move on to the next step. Use this taped paper as a guide for punching holes in the canvas for your embroidery stitches.
Step 3: Use a pushpin to punch holes in the paper and canvas along the outline of the design.
Now use a pushpin to carefully puncture holes through the paper and canvas along the outline of your chosen design. It can create a series of tiny markers that will guide your embroidery stitches.
Make sure to punch holes at the intersections of lines in the design, ensuring accurate stitching. These holes will serve as a guide, indicating where to place your embroidery stitches on the canvas.
Step 4: Remove the lining paper.
Remove the lining paper to reveal the stitch holes for embroidery after punching holes in the canvas. Be cautious not to damage the canvas or the punched holes as you remove the lining paper.
Once removed, you’ll have a clear canvas with perfectly positioned stitch holes, waiting for your creative touch. The lining paper has served its purpose, guiding your pushpin to create accurate holes for your embroidery design.
Step 5: Add colors to the canvas.
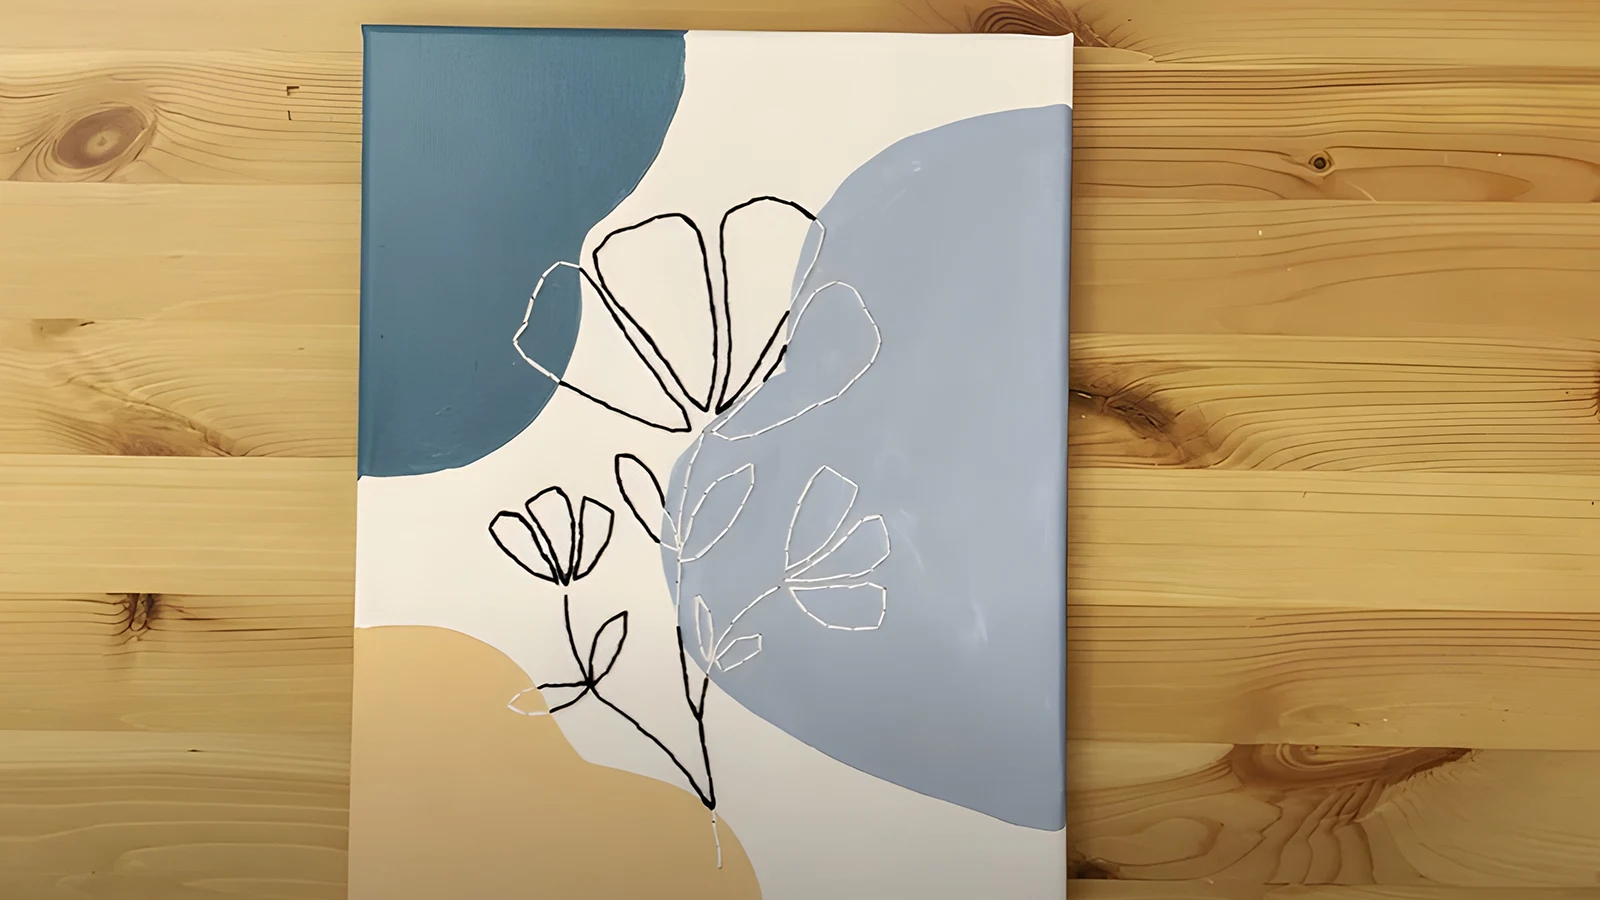
Now that your canvas is ready, use watercolor paints to add bright colors to the design. Fill in the outlined areas carefully to create a beautiful backdrop for your embroidery.
Choose colors that complement your embroidery thread and overall aesthetic. Make sure to paint within the outlined areas to prevent bleeding into the embroidery stitches.
Allow the paint to dry completely before starting the embroidery to avoid smudging or mixing colors. This step is crucial in creating a cohesive and visually appealing finished piece.
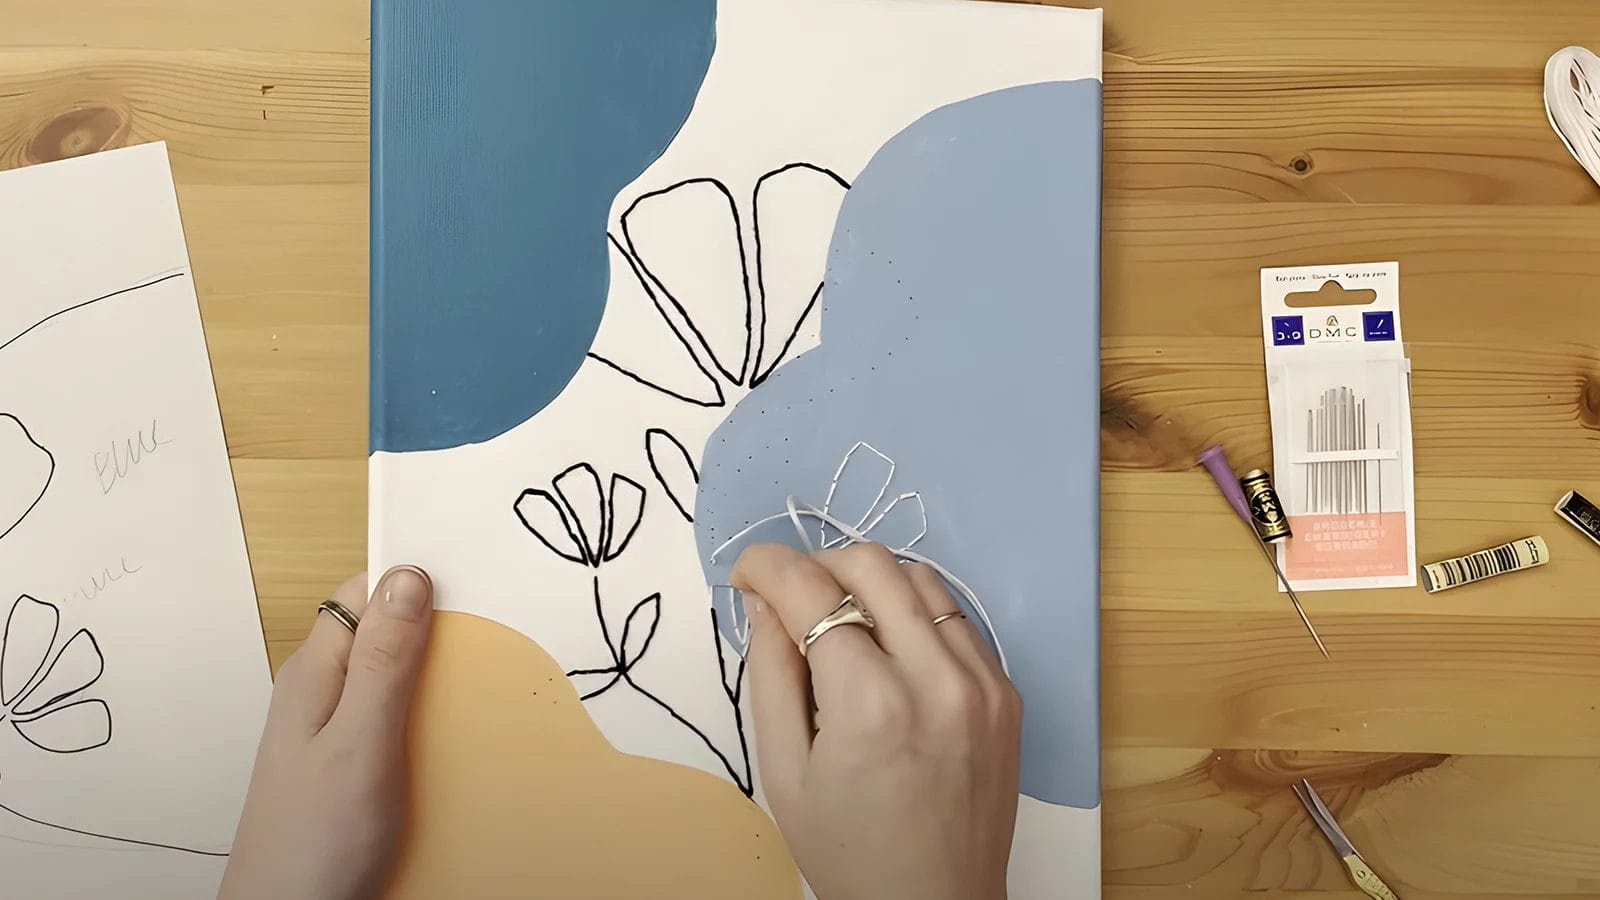
Step 6: Thread the needle and start embroidering with basic embroidery stitches.
Thread your needle with embroidery floss. Carefully pull the thread through the needle’s eye, then pass the thread through the back of the canvas and tie a knot at the end of the thread. Now begin bringing your design to life on canvas.
Now, start embroidering with basic embroidery stitches like back stitch or running stitch to outline your design. Make sure to pass the needle through the punched holes in the canvas for accurate stitching.
Begin stitching from one end of the design to maintain consistency and neatness. Practice good tension control to prevent puckering or loose stitches while embroidering.
Conclusion
You’ve successfully brought your design to life on canvas! Now, step back and admire your DIY canvas art piece. With every stitch, you’ve told a story, adding texture and dimension to your art.
Don’t be afraid to experiment with colors, stitches, and designs. Doing embroidery on canvas is a journey. With practice, you will improve your skills and make beautiful pieces that reflect your unique perspective.