Where do I start if I want to add embroidery to a high-quality towel? You’ll need a sturdy hoop and tear-away stabilizer to keep your work steady. But what’s the best way to align the towel with the stabilizer, and how do you ensure a clean finish? There are some tips and tricks to this craft that’ll ensure your embroidered towel looks professional. Let’s explore this together.
Key Takeaways
- Gather essential supplies, including an embroidery machine, hoop, thread, a quality towel, and a tear-away stabilizer.
- Use an embroidery hoop with a template to mark the embroidery area and secure the towel for a centered design.
- Select a 40 wt thread for visibility and durability, pairing it with a 60 wt bobbin thread for smooth stitching.
- Prepare the towel by hooping it with a stabilizer, applying a water-soluble topping, and aligning it carefully for accurate embroidery.
- After embroidering, carefully remove the hoop and stabilizer, trim excess threads, and remove any water-soluble marks for a clean finish.
Supplies You’ll Need to Embroider on Towels
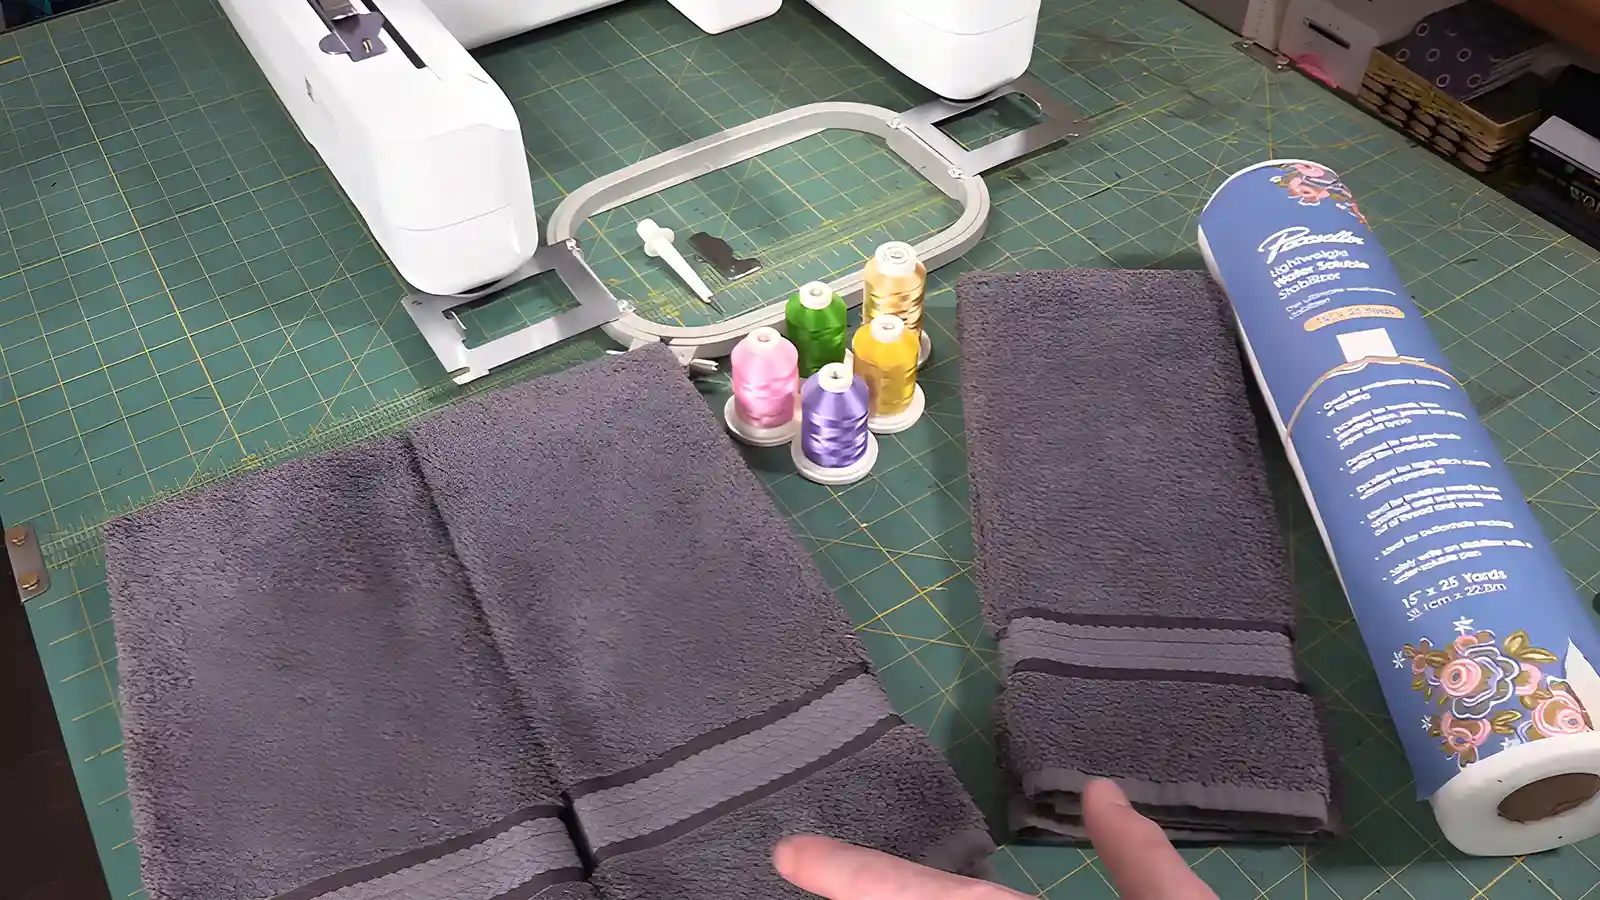
Before you start embroidering on towels, you’ll need to gather a few essential supplies. Get your hands on an embroidery machine and an embroidery hoop with a template, crucial for accurate design placement.
Embroidery Machine
Embarking on your towel embroidery journey, you’ll need a well-equipped embroidery machine. Your embroidery machine is the centerpiece, designed to bring your intricate designs to life on the towel’s fabric.
Embroidery Hoop with Template
An embroidery hoop with a template is an important tool in your embroidery collection. It helps you achieve accurate and professional results when embroidering on towels. This tool combination is fundamental to proper alignment and positioning of your designs.
Embroidery Thread
It’s equally important to select the right embroidery thread and supplies. Choose a 40 wt embroidery thread for towels. It offers a good balance of visibility and durability, making it ideal for thicker fabric. Pair this with a 60 wt bobbin thread, slightly thinner to allow for smooth stitching. A needle, sized 75/11 or 90/14, will ensure the thread passes through the fabric without damaging it.
A Towel
The towel itself should ideally be of good quality, absorbent, and durable.
Tear Away Stabilizer
To embroider on towels, you need a Tear Away Stabilizer for stability during stitching. This stabilizer is particularly beneficial for thin towels, supporting the stitches without adding extra bulk.
Spray Adhesive
An important item for embroidering on towels is spray adhesive. It helps to temporarily bond the towel to the stabilizer during the embroidery process. It’s a vital component when you embroider on towels, as it helps prevent shifting or puckering of the fabric.
Water Soluble Pen
Use a water-soluble pen to mark embroidery designs on towels with precision. This pen is an important tool for embroidery. This essential supply allows for accurate placement of your design without leaving permanent marks on the fabric.
Straight Pins
In addition to a water-soluble pen, straight pins are a must-have in your tool kit for embroidering on towels. These pins secure the towel and stabilizer together. This ensures that the layers stay in place, preventing any shift while you’re embroidering.
How to Embroidery on Towels
Now, let’s learn how to embroider on a towel. If you are a beginner, the following step-by-step instructions will help you.
Step 1: Set up embroidery machine.
Before starting to embroider towels, it’s important to set up your embroidery machine with the correct needle, thread, and stabilizer for towel fabric.
Adjust the machine’s tension and speed settings to accommodate the thickness and texture of the towel. Carefully load your chosen design onto the machine, double-checking its placement.
Step 2: Use a straight pin to make a temporary mark in the center of the towel.
Use a straight pin to make a temporary mark in the center of your towel. This will help guide you when placing your design.
Step 3: Put the template on the center mark, then make marks on towels and remove the straight pin.
First, position the template carefully on the center mark. This will ensure that your embroidery design is placed exactly where you want it on the towel.
Using the template as a guide, make additional marks on the towel. Use these marks as a guide for accurate embroidery. They will make your design stand out on the terry cloth fabric.
Once you’ve made the necessary marks, it’s time to remove the straight pin. Doing so carefully prevents any unnecessary pricks or damage to the towel.
Step 4: Hoop the tear-away stabilizer and mark the center on it to form a cross line.
Ready to hoop? Securely hoop the tear-away stabilizer to provide a stable foundation for your towel during the embroidery process.
Now, it’s time to mark the center on your stabilizer. Using a washable marker, draw a cross line in the center. The intersecting point of the line forms the precise center. This will act as your guide for the embroidery design placement.
Step 5: Use a little spray adhesive in the center of the stabilizer.
Now, it’s time to lightly apply some spray adhesive in the center of your stabilized hoop. It’s designed to prevent your towel from shifting or puckering, which could potentially distort your design.
But remember, moderation is key. Overuse of spray adhesive could result in residue or even damage to your towel. So, just a little spritz in the center will do.
Step 6: Align the center mark on the towel with the mark on the tear-off stabilizer, then press the towel firmly against the stabilizer.
To make sure the embroidery is accurate, line up the center mark on your towel with the matching mark on the tear-away stabilizer, then press the towel firmly against it. This alignment is a crucial step in the embroidery process to ensure your design is properly positioned.
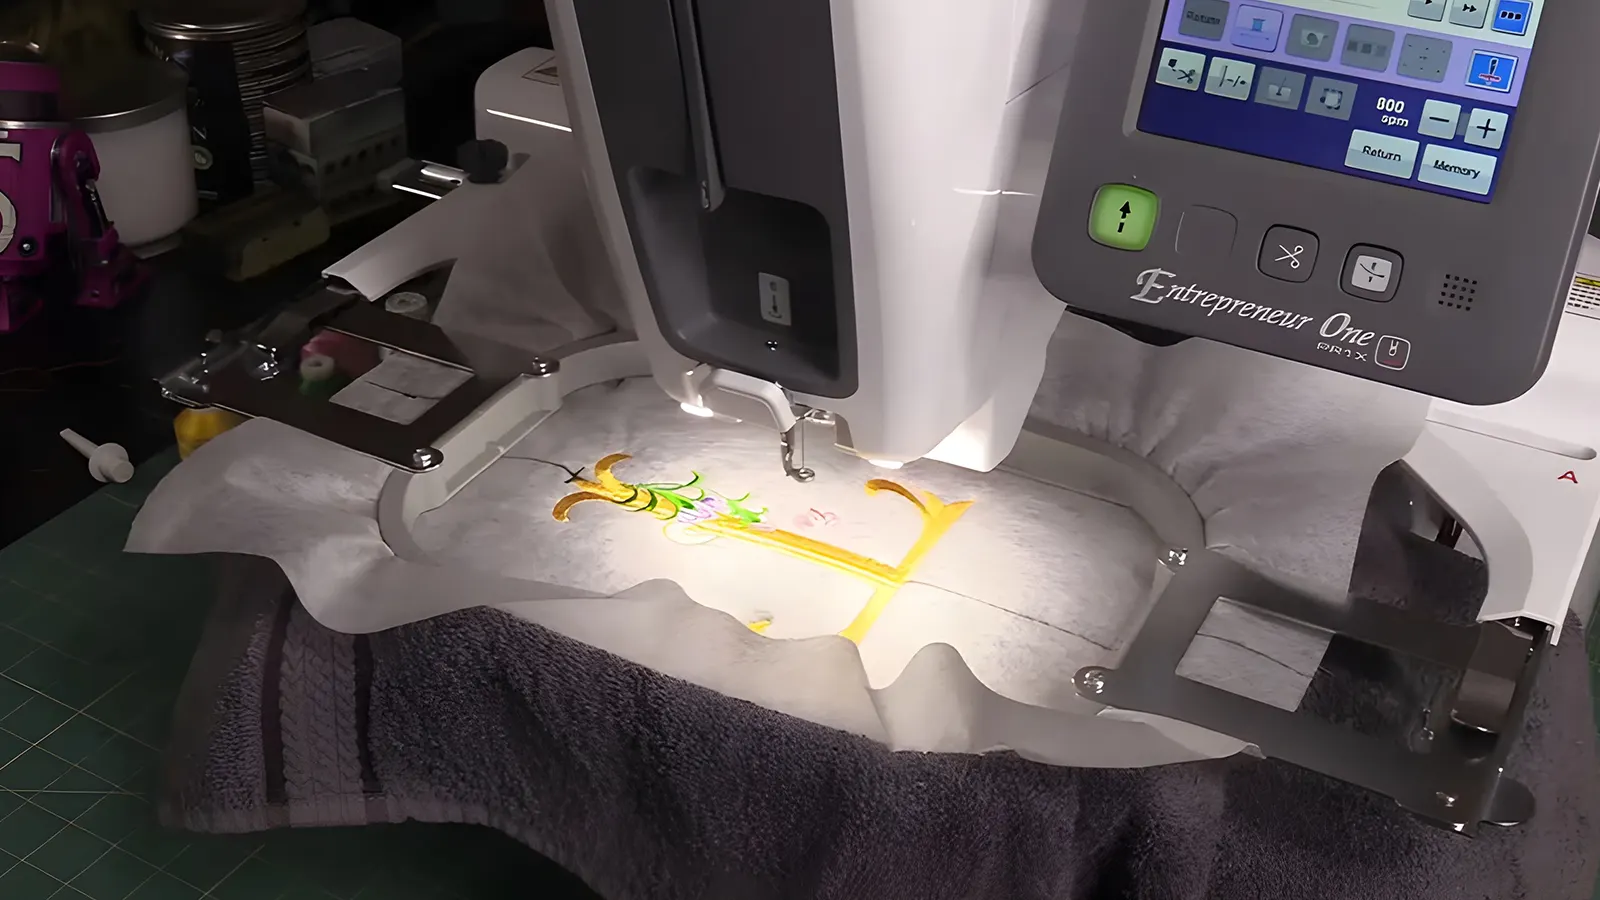
Step 7: Place the hoop inside the machine and embroider the design.
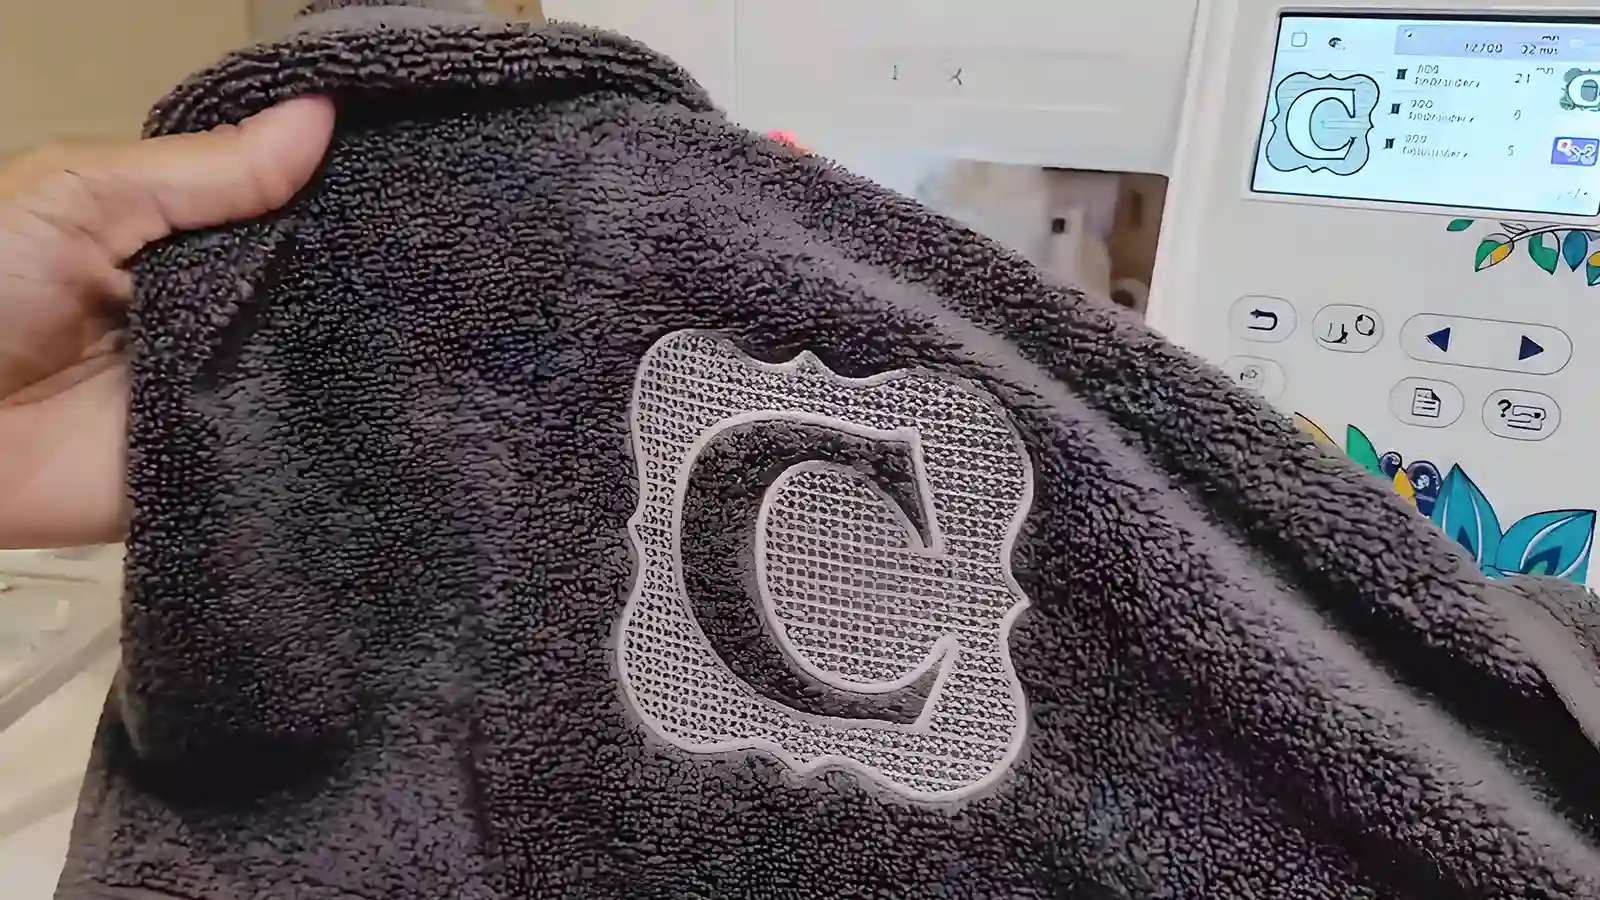
Once you’ve attached the stabilizer to the towel, place it in the embroidery machine and embroider either the free design or monogram on a towel.
Before starting the machine, double-check the positioning of your design. Minor adjustments can make significant differences in the final outcome. As the machine starts to embroider, keep a close watch. Despite the precision of the technology, occasional thread breaks can occur.
Step 8: Take the hoop out of the machine after finishing embroidery.
After your embroidery machine finishes the design, remove the hoop carefully to avoid damaging your newly embroidered towel. To remove the hoop, ensure you’re not pulling or tugging at the fabric, which could distort your finished embroidery.
Step 9: Remove the water-soluble marks.
After finishing the embroidery and cutting off any extra stabilizer, your next task is to remove all the water-soluble markings from the towel.
To do this, dampen a clean cloth and gently blot the marks. Avoid rubbing the fabric vigorously as it can potentially damage your embroidery. Lukewarm water works best to dissolve the water-soluble marks effectively.
Step 10: Remove the tear-away stabilizer.
Now, you’ll need to carefully tear away the stabilizer from around the embroidered design on your towel. Be gentle during this process, ensuring you don’t pull or stretch the towel fabric.
Use angled tweezers to help you remove small and tricky pieces of the stabilizer that are hard to reach with your fingers.
Conclusion
Embroidering a towel is a fun, creative skill. You’ve mastered how to select a quality towel, prep it, and use a hoop with tear-away stabilizer for stability.
You’ve learned to align, embroider, and monitor the process closely. With proper care in removing the hoop and cleaning up, your embroidered towel should now look professional.
Keep practicing, and soon you’ll be creating custom designs with ease. Once you master this skill, you can make great gifts for your friends. Happy embroidering!