You’ve spent hours on embroidering work, carefully crafting each stitch, and now it’s time to finish it off. But how do you secure your embroidery without damaging the integrity of your design? Does the process differ depending on the type of stitch used? And what about avoiding bulky knots that can distort the final look? Here are some techniques and tips to achieve a professional finish and long-lasting results.
Key Takeaways
- To end embroidery, turn fabric over and slide the needle under existing stitches for security.
- Weave the needle in the opposite direction under stitches for a firm finish.
- Trim any excess thread carefully, ensuring a strong anchor to prevent unraveling.
- If ending without a knot, weave under stitches to maintain a neat, knot-free backing.
- For a neat finish, leave a 4-5 inch working thread tail and weave it through the last stitches on the backside.
How to End Embroidery Stitches with a Knot


To finish threads in hand embroidery, it’s vital to understand how to effectively make a knot. The following is an easy knot method.
Step 1: Find the stitch closest to the last stitch point on the back of the fabric.
When you’re ready to end your embroidery, find the stitch that’s closest to your last stitch point on the back of the fabric. This step is crucial as it’s where you’ll secure the thread to prevent unraveling.
Step 2: Pass the needle under the nearest embroidery stitch.
Wondering how to secure your embroidery thread in place? You’ll need to bring your needle under the nearest stitch on the back of your fabric. This is a critical part of how to end embroidery stitches, and it ensures a neater finish. Be cautious when pulling the needle through; avoid applying excessive force to prevent any damage.
Step 3: Pull out the needle and place the needle under this stitch again.
After anchoring your thread under the existing stitch, it is important to pull out the needle and place it under the same stitch again to make a secure knot at the end of your embroidery.
This is especially important if you’re working with a satin stitch, which can easily unravel without a knot. Start by gently pulling the needle out, ensuring not to disturb the other stitches. Then, carefully slide the needle under the stitch again. This should be done on the back of the fabric to keep the knot hidden.
Step 4: Pull out the needle and a small knot will form.
When you remove the needle carefully, a small knot will form at the end of the thread. This crucial step in ending your embroidery work ensures that your stitches are secure enough to withstand time and wear.
This little knot, although small, plays a vital role in the overall finish of your work. The knot must be tight and secure to prevent the thread from slipping and unraveling your stitches.
Step 5: Trim excess thread.
With the small knot now firmly in place, you’re ready to deal with the excess thread that’s been left over from your embroidery work.
Carefully, snip off the excess thread as close as possible to the fabric’s surface. Be careful not to cut the fabric or existing stitches when working, as a small mistake could undo your progress.
How to End Embroidery without a Knot on Linear Stitches

You can finish your embroidery without making a knot on a line of stitches. This method can be neat and secure if done correctly.
Step 1: Slide the needle under the closest stitch.
To end embroidery without creating a knot on linear stitches like backstitch or running stitch, start by sliding your needle under the closest stitch on the front side of the fabric. Carefully guide the needle under the stitch, ensuring it travels smoothly without pulling or snagging.
Step 2: During sliding, leave a loop and pass the needle through this little loop.
To continue, slide the needle under the closest stitch. Then, intentionally create a small loop and pass your needle through it.
This technique is often used in satin embroidery to create a secure end without visible knots and maintain a professional appearance on linear stitches.
Step 3: Pull the embroidery thread to create a small knot.
To make a small knot without affecting your stitches, gently pull the embroidery thread until it tightens and forms a secure notch near the fabric. The aim is to place the knot right at the base of your back stitches, ensuring it is firm but not overly tight to prevent distortion.
As you pull your thread, be mindful of the tension to maintain consistency in your final stitch. Once you’ve secured the knot, weave your needle under the existing stitches on the reverse side of your fabric.
Step 4: Repeat the above steps to secure the thread and trim excess thread.
After looping the thread under the last few stitches, it’s important to repeat this weaving process at least four to five times for a strong and secure finish.
This technique, ideal for linear stitches, ensures the back of your work remains neat and knot-free. Carefully weave under stitches, alternating directions, to guarantee a secure hold and avoid knots.
How to End Embroidery without a Knot on Filling Stitches

Let’s begin to explore a way of ending embroidery without using a knot.
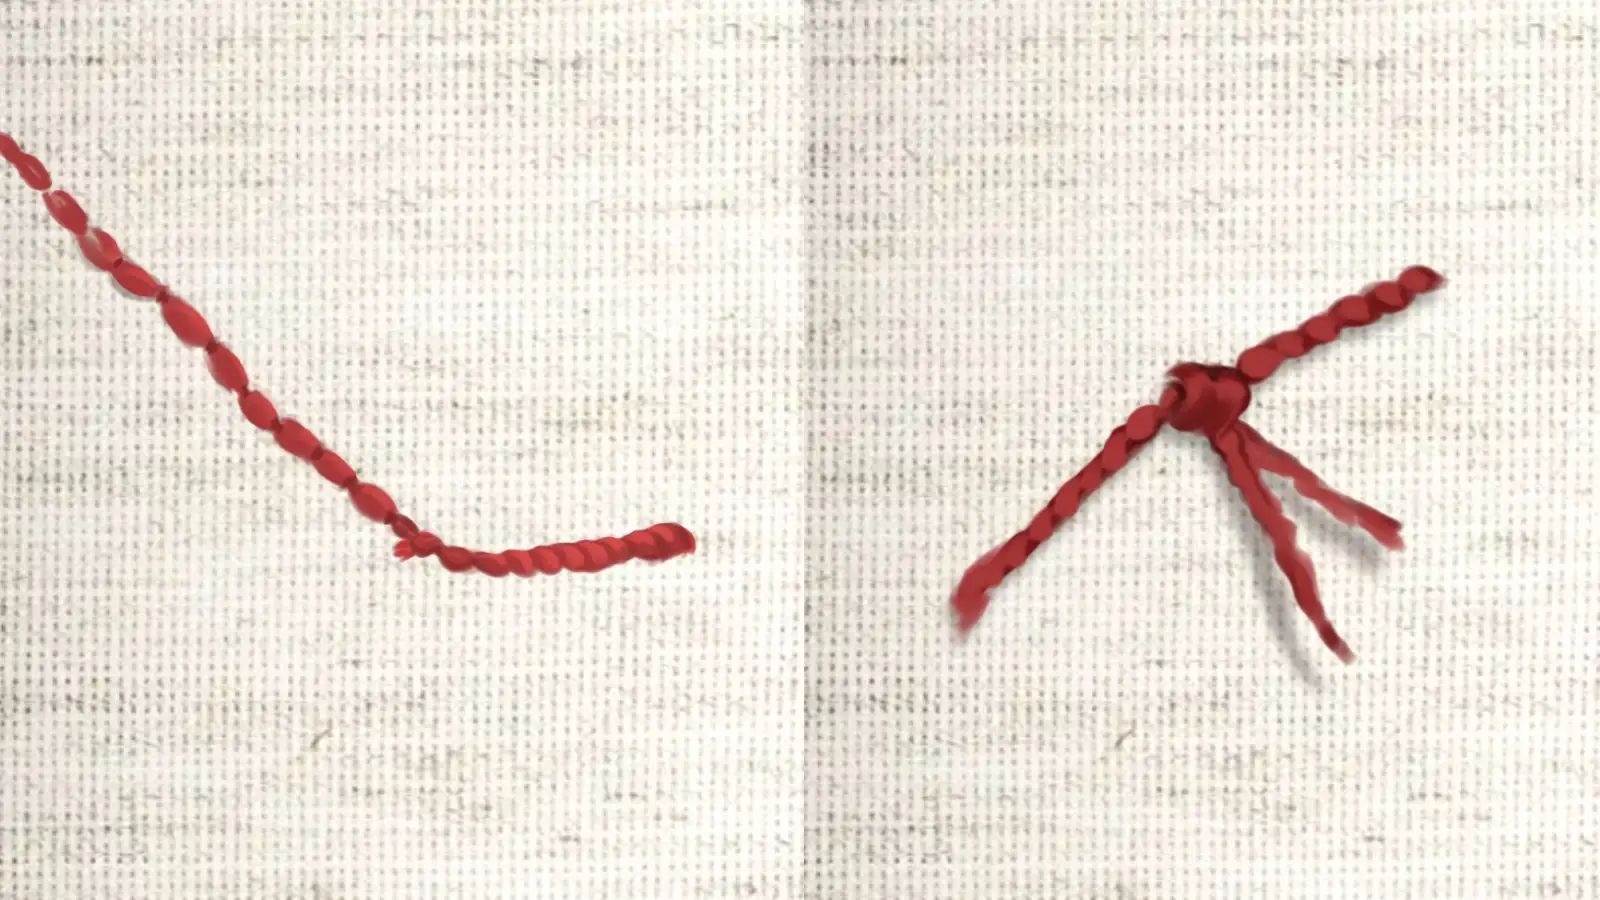
Step 1: Turn over to the back of the fabric and slide the needle under the existing stitches.
After finishing the last stitch, turn your work back and slide the needle under the filling stitches to secure the thread without a knot. This method, commonly known as weaving, effectively anchors your thread, ensuring a tidy finish.
It’s particularly useful for filling stitches, contributing to a seamless and professional look on the front of your embroidery piece. It’s important to slide your needle under several stitches, not just one or two. This ensures a strong anchor and prevents your embroidery from unraveling over time.
Step 2: Slide the needle in the opposite direction under the stitches.
To achieve a professional and neat appearance in your embroidery projects, an important technique is to take the needle under the stitches in the opposite direction. This step is crucial in ending embroidery without adding bulk or knots.
You start by taking your working thread and weaving it under the existing stitches, but in the opposite direction. This weaving process helps to secure the working thread, ensuring it won’t unravel or come loose during handling.
Step 3: Cut off excess thread.
After completing your stitches, trim the thread. Any further excess thread can be trimmed close to the fabric.
Tips for Ending Thread in Hand Embroidery
In concluding your embroidery work, remember to leave a generous tail of your working thread. It’s important to keep the back of your fabric neat, so don’t use an extra zigzag stitch for securing the thread.
Be mindful not to pull the thread too tight when weaving it under the stitches, as this can distort your handiwork.
Leave a long working thread tail.
When you finish your embroidery, make sure to leave a thread tail of about 4–5 inches. This will give you enough length to manipulate and secure the thread properly. This allows you to start and end your work with ease.
Make sure the back of the embroidery fabric is neat.
Keeping the back of your embroidery fabric neat is another key aspect of ending your thread in hand embroidery. Avoid the messy back of the work. It’s not just about aesthetics, but also about ensuring a secure finish that resists unraveling.
To achieve this, you’ll need to weave your thread through the last stitches on the back of the embroidery. Aim for at least 4–5 stitches before snipping off excess thread. For added security, weave in both directions.
Don’t use extra zigzag stitch to secure your thread.
Ever thought about using extra zigzag stitches to secure your thread at the end of your embroidery project? You might want to reconsider. Adding extra stitches may appear beneficial, but they can actually cause unwanted thickness and distort the fabric, which impacts the quality of your final project.
Avoid pulling the thread too tightly when passing it under the stitches.
In ending your embroidery, it’s crucial not to pull the thread too tightly as you weave it under the stitches. If you’re too forceful, you risk distorting the fabric, so avoid tugging the thread.
Conclusion
Ending your embroidery correctly is essential for a polished, professional finish. By weaving the needle under existing stitches, you can secure the threads without knots, maintaining a neat, tidy backside.
With these tips, you can finish both linear and filling stitches easily, making your hand embroidery beautiful and durable.