Imagine you want to embroider on t-shirts or sweatshirts, but despite your careful stitches, the fabric puckers and distorts. The issue could be a lack of the right embroidery stabilizer. Using temporary stabilizers can help your embroidery project easily.
The stabilizer is an important tool in embroidery. It helps support the fabric and gives it a professional finish. But how do you select the right type and application method to perfectly match your fabric and design?
Stay tuned as we unravel the secrets of using embroidery stabilizers, setting you on the path to flawless embroidery projects.
Key Takeaways
- Understand the different types of stabilizers and their specific uses for various fabrics.
- Choose the right stabilizer based on the fabric type, weight, and the design of the embroidery project.
- Properly place and hoop the stabilizer with the fabric to ensure stability, avoid fabric shifting, and improve stitch quality.
- Always conduct a stitch-out test to ensure the compatibility of the stabilizer with the fabric and design.
What are Embroidery Stabilizers?
Embroidery stabilizers are crucial to a successful stitching project. They come in several varieties, including backing stabilizers and topping stabilizers. Backing stabilizers provide support to your fabric from underneath when doing embroidery. Topping stabilizers are placed above the fabric to preserve its texture and details. Understanding these tools and their specific uses can significantly improve the quality and longevity of your embroidery designs.
Introduction of Embroidery Stabilizer
Stabilizers are important materials that help achieve clean and professional embroidery results. These supports are essential for maintaining the integrity of the fabric during stitching. It effectively prevents any distortions or other common issues that may arise. Embroidery stabilizers come in various types, each designed to cater to a specific fabric type. For instance, cut-away stabilizers are ideal for knit fabrics due to their unique ability to provide continual support.
When using stabilizers, always apply them underneath the fabric before hooping. This serves as a solid foundation for your embroidery. Furthermore, it ensures that no distortions occur during the stitching process. Understand, utilize, and leverage the power of the right stabilizer to achieve your desired embroidery outcomes.
Backing Stabilizer
Understanding the role of backing stabilizers can greatly improve the quality of your embroidery work. Stabilizers effectively eliminate the possibility of distortions. Cut away stabilizers and tear away stabilizers are examples of backing stabilizers used for this purpose.
Here are some key points to remember:
- Cutaway stabilizers are ideal for stretchy fabrics, providing permanent support.
- Tearaway stabilizers offer temporary backing and are easy to remove post-embroidery.
- Water-soluble stabilizers are dissolving when exposed to water. So it is perfect for delicate fabrics and freestanding lace designs.
Picking the correct stabilizer is essential for a successful embroidery project. It provides stability and improves the final result.
Topping Stabilizer
Topping stabilizers are essential for maintaining stitch quality on textured fabrics. It ensures that designs remain visible and do not become submerged or obscured. This Stabilizer is useful for sewing on fabrics like terrycloth, creating a smooth surface for stitches. It is also suitable for collar and cuff embroidery. The trick is to apply the topping stabilizer on the wrong side of the fabric. This ensures your stitches remain on the surface, resulting in a crisp, clean embroidery finish.
The Importance of Stabilizers and When to Use Embroidery Stabilizers
Knowing the significance of stabilizers and when to use them can greatly enhance your embroidery projects. They provide support based on the specific qualities of the fabric you choose. Stabilizers are essential for preventing fabric distortion. Particularly when working with stretchy or thin fabrics. By choosing the right stabilizer, you will enhance your crafting experience.
Consider the following points when using stabilizers:
- Use them to prevent distortion during embroidery, especially on stretchy fabrics.
- For thin or light-colored fabrics, stabilizers help avoid show-through of stitches.
- On loose-weave fabrics, stabilizers provide a hidden structure for smooth stitching.
- Remember that different stabilizers are designed to offer varying levels of support. So making the right choice is essential.
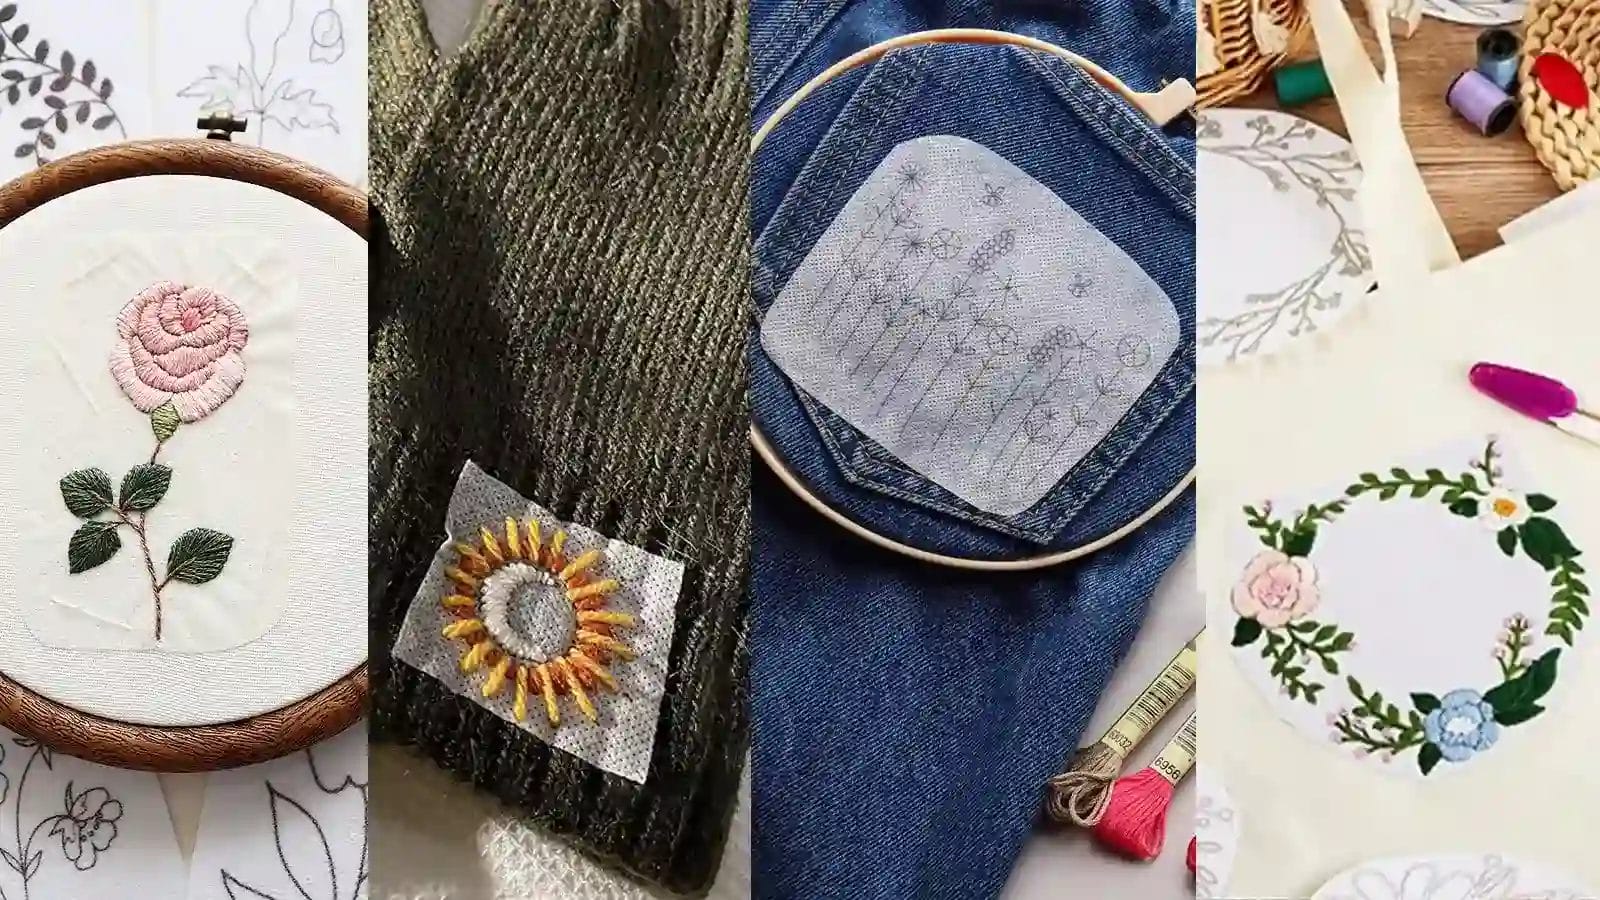
6 Types of Embroidery Stabilizers
You’ll find a variety of embroidery stabilizers to suit your project’s needs. Cut-away stabilizers are best for knit fabrics. Tear-away stabilizers are highly effective for woven fabrics. If you’re working with lightweight fabrics, consider fusible stabilizers. And for heat-sensitive materials, heat away options will do the trick.
Cut-away Stabilizer
When working with stretchy fabrics like knits, it’s best to use a cut-away stabilizer for embroidery to prevent fabric distortion. It’s the go-to choice for machine embroidery. Because it offers long-lasting stability that withstands wash and wear. This type of stabilizer remains attached to your fabric even after stitching. It provides a constant support system for your embroidery.
Cut-away stabilizer is especially beneficial for:
- Maintaining the shape and structure of your embroidery, even through multiple washes.
- Supporting intricate and detailed embroidery designs that require stability.
- Offering a solution for both machine and hand embroidery projects.
With cut-away stabilizer, you can create stunning embroidery on stretchy fabrics without any distortion.
Tear-away Stabilizer
If you’re using fabrics such as cotton or linen for embroidery, a tear-away stabilizer is a good option. It gives temporary support while you’re working on your embroidery and can be easily removed afterward.
This stabilizer is useful for light fabrics to prevent puckering and keep the embroidery design’s shape. Place the tear-away stabilizer under the fabric in the hoop. It will keep your stitches neat and prevent puckering.
Once your design is finished, just tear it away. This convenience makes it a go-to stabilizer for projects where the back won’t be visible.
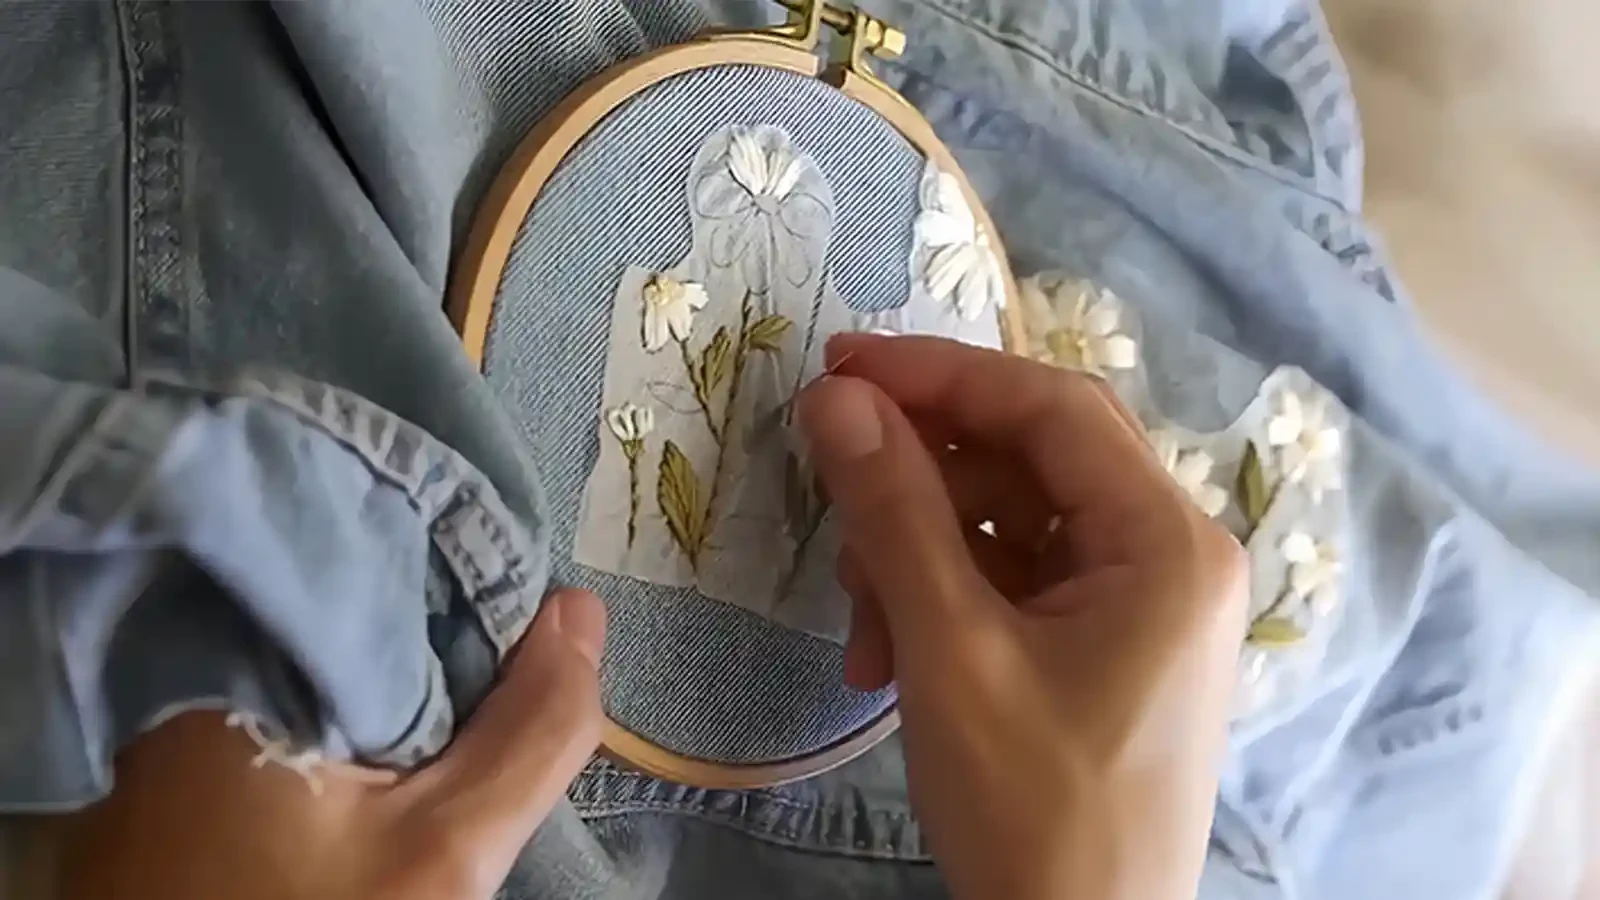
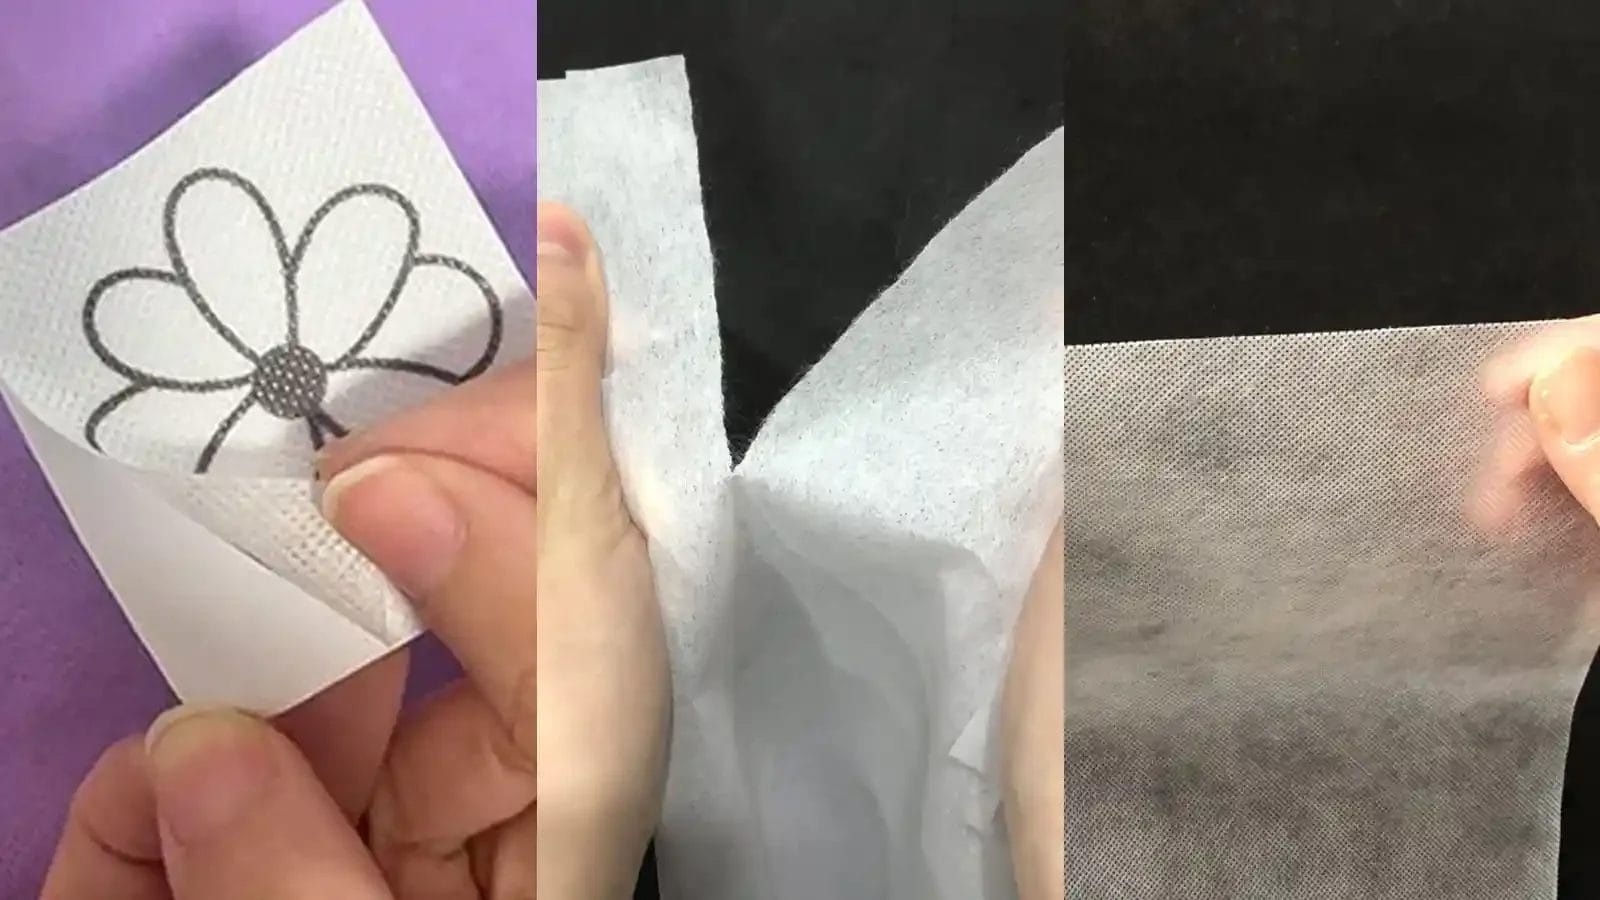
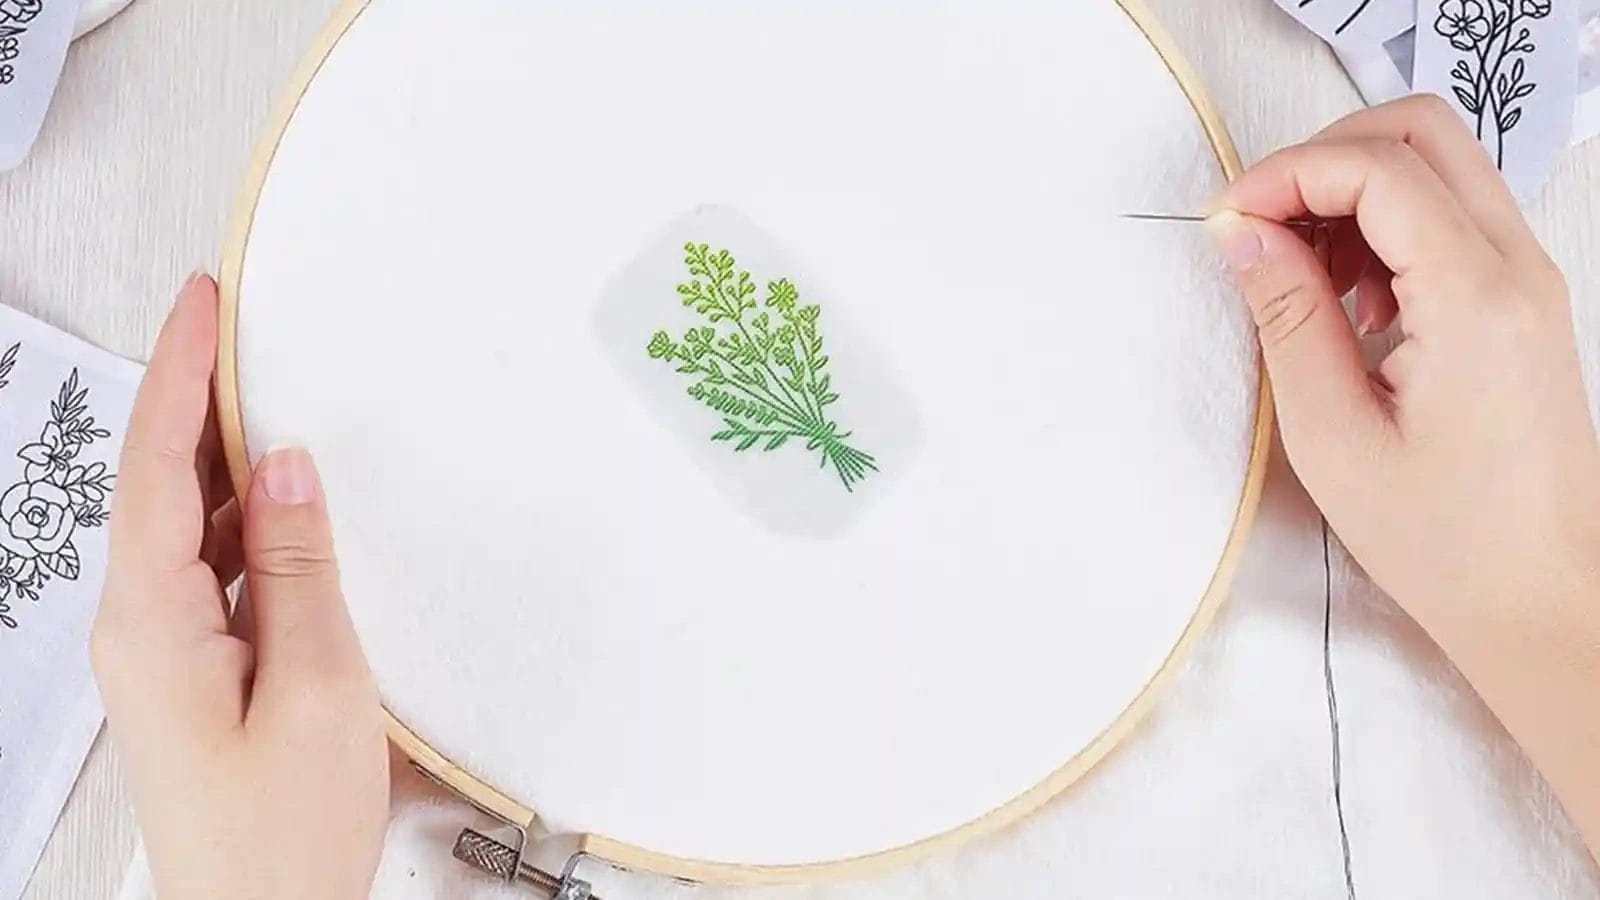
Wash-away Stabilizer
Wash away stabilizer dissolves completely when in contact with water. It is great for delicate fabrics like lace, sheer materials, and freestanding embroidery designs. This unique stabilizer is temporary and disappears after a simple rinse. It doesn’t leave any residue behind. It’s your go-to for intricate and detailed projects where you don’t want any hint of stabilizer left.
Water-soluble stabilizer is perfect for delicate fabrics. It gives support during stitching and can be easily removed after, leaving your design clean and professional. Water-soluble stabilizer is particularly useful with lace and sheer materials. It ensures your embroidery doesn’t lose its delicate appeal. Perfect for freestanding embroidery designs where you don’t want any stabilizer visible.
Can dissolve in water, making it easy to remove after your project is complete.
Iron-on Stabilizer
Embroidery requires iron-on stabilizers to provide a firm base. It is useful for fabrics that can withstand heat like cotton or linen. These stabilizers offer a stable base for your embroidery, adhering to the fabric’s back with heat.
The iron-on stabilizer has a shiny and a matte side, with the matte side facing your fabric during ironing. It’s crucial to ensure your fabric is smooth and wrinkle-free before applying the stabilizer. Carefully follow the manufacturer’s instructions for the ironing temperature and duration. This helps activate the adhesive properly.
Using an iron-on stabilizer improves embroidery quality by preventing distortion.
Spray On Stabilizer
When working on complex embroidery projects on textured or napped fabrics, you can use a spray adhesive stabilizer. It will temporarily stabilize the fabric without the need for hoops. It is the perfect solution for achieving flawless stitching even on difficult fabrics. Just a quick spray, and your stabilizer is firmly adhered to the fabric, ready for the embroidery machine.
Here’s what you need to know about this versatile tool:
- Spray adhesive stabilizer is ideal for fabrics that are difficult to hoop.
- It ensures your stitches remain consistent, and the design stays in place.
- You can easily remove the stabilizer without leaving residues on your fabric.
- It’s perfect for temporary stabilization of various embroidery projects.
Always choose the right stabilizer to ensure a perfect stitch and a flawless finish.
Adhesive Stabilizer
Adhesive stabilizers are useful in embroidery. Their sticky backing makes it easy to attach fabric. Adhesive stabilizers are ideal for effectively preventing fabric from shifting. It is suitable for lightweight and delicate fabrics. Their sticky backing secures the fabric in place, minimizing puckering during stitching. Once the embroidery is complete, you’ll find these stabilizers easy to remove.
Practical Tips for Using Stabilizer
To use an embroidery stabilizer effectively, understand its characteristics and choose one that matches your fabric’s density. Test your stabilizer with your fabric and design before starting your embroidery project to make sure it’s suitable. When it’s time to hoop, remember to place the stabilizer properly for the best results.
Learn Everything about your Stabilizers
Let’s dive into the world of embroidery stabilizers. Understanding their characteristics and benefits can significantly improve your embroidery projects.
Your choice of stabilizer depends on the fabric and the machine embroidery design. For stretchy fabrics, cut-away stabilizers are your best bet as they provide excellent support. Tear-away variants are a great choice for a clean finish. If you’re working with delicate fabrics, water-soluble stabilizers dissolve effortlessly after a rinse.
When working with iron-on stabilizers, remember they have two sides: mat and shiny. The shiny side is the one that sticks to your fabric.
Here are some practical tips:
- Always match the stabilizer’s weight with your fabric.
- For small designs, consider self-adhesive stabilizers.
- Apply the stabilizer underneath the fabric.
- Always make sure to hoop your fabric and stabilizer together.
Choose Stabilizers according to Density
Moving on to our next important factor, consider the density of your embroidery design while choosing the right stabilizer.
For high-density designs needing lasting support, you’ll want to choose a cutaway stabilizer. By preventing fabric distortion, this ensures the design’s integrity remains intact.
If you’re working on medium-density designs, a tearaway stabilizer is your best bet. It provides adequate support during stitching and can be easily removed afterward.
For low-density designs, opt for a water-soluble stabilizer. It dissolves completely, leaving behind a neat and clean embroidery.
Test the Stabilizer on Your Fabric or Design
Test the stabilizer with your fabric and design before starting your embroidery project. It’s all about compatibility. Your stabilizer should support your stitches and prevent fabric distortion. A stitch-out test is an effective way to assess this.
Here are some practical tips to follow:
- Conduct a stitch-out test to check the compatibility of the stabilizer with your fabric and design.
- Observe the stabilizer’s performance. Does it provide good support for the stitches? Does it prevent fabric distortion?
- Adjust the stabilizer type or amount based on your test results.
- Make sure your chosen stabilizer provides enough stability for your design without causing puckering.
Properly Hoop the Stabilizer
It is important to properly hoop it together with your fabric to achieve the best embroidery results.
Here’s how to hoop the stabilizer effectively. First, ensure the stabilizer is securely hooped without any wrinkles or creases. This provides a stable base for your stitches and wards off fabric distortion.
Using a smaller hoop size for your design not only saves stabilizer but also helps maintain better fabric tension. Keep the fabric taut within the hoop, adjusting as necessary. This ensures the fabric remains flat, leading to precise, high-quality embroidery.
Conclusion
Now you’re equipped with the knowledge to expertly use embroidery stabilizers. Remember, the right stabilizer can make or break your embroidery project.
Whether you’re working with knit or denim, cutaway or tearaway, your designs will flourish with the right foundation. Don’t overlook this crucial detail, and you’ll be creating artful, durable embroidery in no time.
With practice, you’ll become a master. Here’s to beautiful, long-lasting designs!