You’re about to take your hat to the next level by adding a personal touch – embroidery. To get started, you’ll need a few essential supplies, which we’ll cover soon. For now, let’s focus on the basics. You’ve got your design in mind, and you’re eager to bring it to life. But before you begin, it’s crucial to understand the process. What’s the best way to transfer your design onto the hat? How do you choose the perfect embroidery floss colors? The answers to these questions will set you up for success, and that’s exactly what we’re about to explore.
Key Takeaways
- Transfer your design accurately onto the hat using transfer paper to ensure precise alignment and placement.
- Choose the right embroidery floss and thread your needle with a secure knot to prevent tangling.
- Use a suitable embroidery hoop and sharp needle to maintain even tension and consistent stitches.
- Make precise cuts with sharp scissors to maintain a clean finish.
- Test your embroidery stitches on scrap fabric and refine your skills before embroidering on the hat.
Supplies You’ll Need
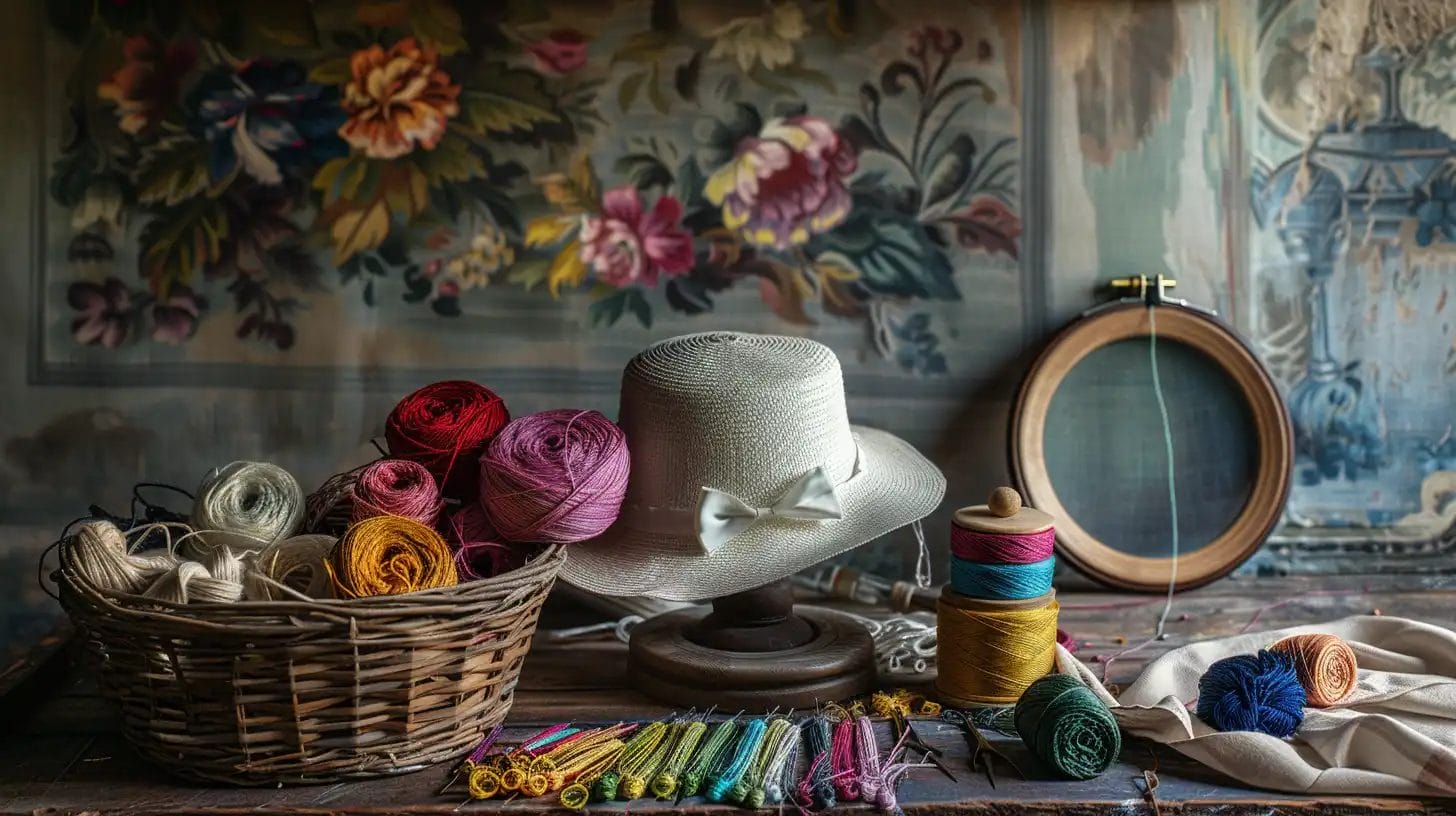
To get started with embroidering a hat, you’ll need a few essential supplies.
Baseball Cap
To start embroidering a baseball cap, you need a few necessary supplies. One of these supplies is an unstructured canvas baseball cap, which will serve as the base for your project.
Embroidery Floss
For your hat embroidery project, consider using six-strand embroidery thread. It is a popular choice for its quality and many color options.
Embroidery Needle
Choose a sharp embroidery needle that matches the weight and type of fabric you’re using for your hat.
Embroidery Hoop
Now it’s time to secure your hat fabric in an embroidery hoop that’s appropriately sized for the task. For hat embroidery, a 3-inch or 4-inch hoop is an ideal choice.
Transfer Paper
To transfer your design onto the hat fabric, you’ll need transfer paper. This specialized tool helps you accurately reproduce your chosen design.
Which designs are available for hat embroidery?
Now that you’ve gathered your supplies, it’s time to explore the various design options available for hat embroidery.
You’ll find a wide range of choices, including florals and plants, which can add a touch of elegance to your hat.
You can create various designs, from simple text to intricate images, to suit your project.
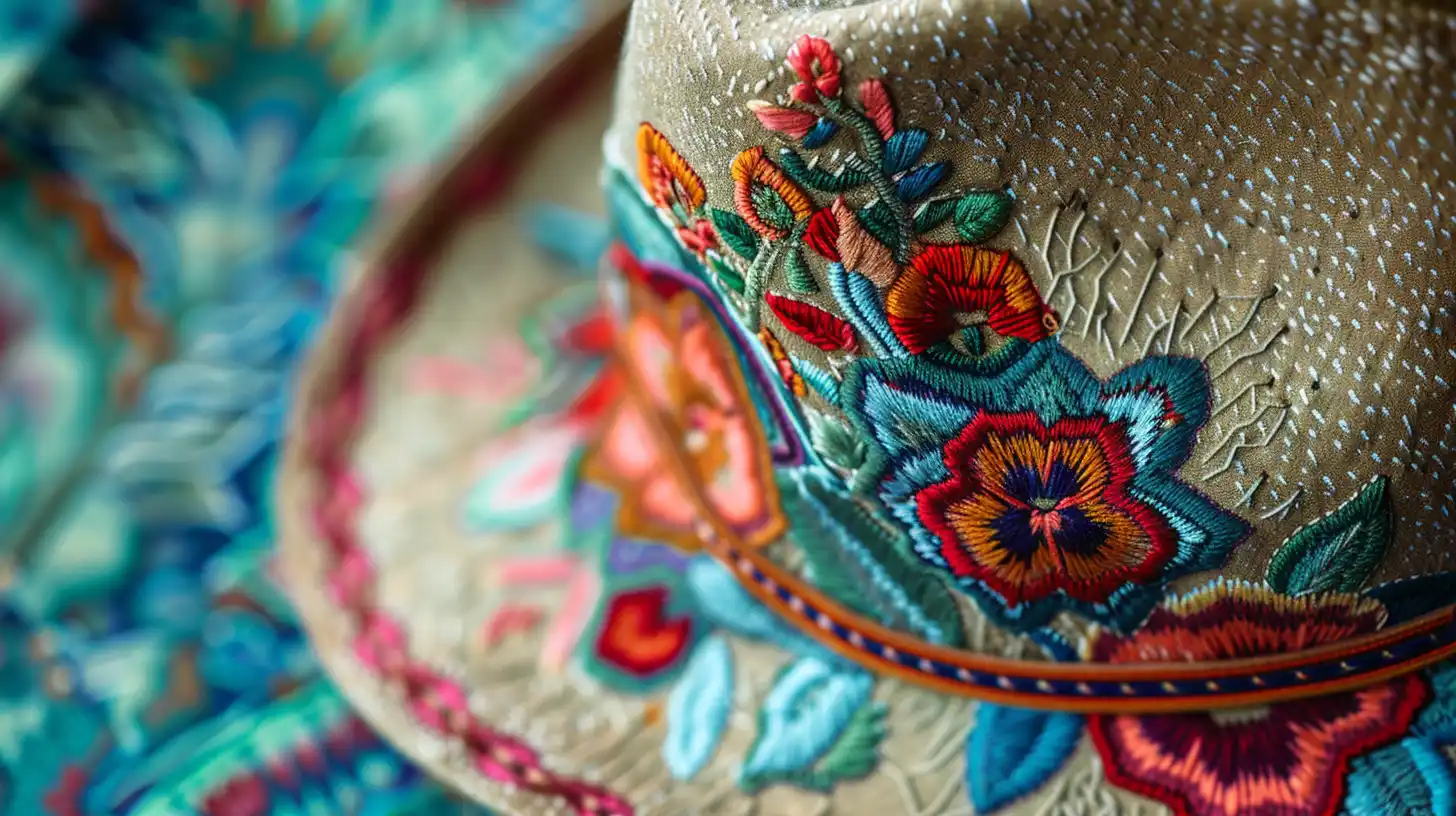
Florals and Plants
You can download free floral and plant designs specifically created for hat embroidery. As a beginner, you’ll love exploring these embroidery designs tailored for hats.
With these designs, you can add a touch of elegance to your hat embroidery projects. Try your hand at satin stitch and French knots to create detailed floral designs that will make your hats stand out.
Texts
When it comes to hat embroidery, classic monograms are at your fingertips. For a personalized touch, consider monograms, which are perfect for adding initials or names to your hat.
Image Outlines
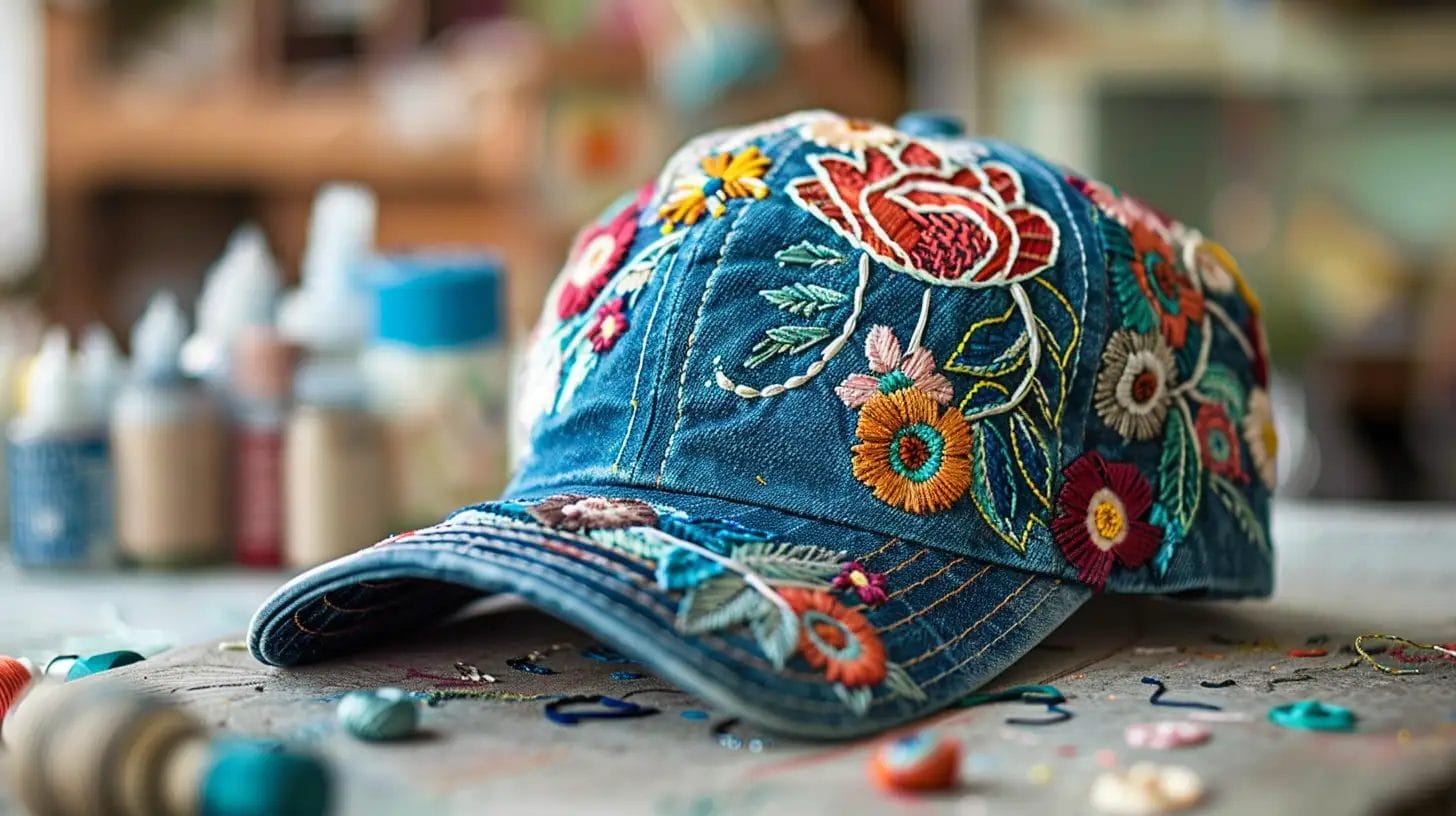
We have various image outlines for hat embroidery, such as a cat, dog, moon, and mountain landscape. These outlined designs allow you to personalize your hat with unique and intricate embroidery patterns. Choose a design that reflects your personality and style. Embroider it onto your hat using different techniques.
How to Embroider a Hat by Hand
You’re ready to start embroidering your hat by hand! Here’s a step-by-step tutorial.
Step 1: Hoop the hat.
Separate the inner and outer rings of the embroidery hoop. Then place the inner ring underneath the fabric of the hat. You should carefully position it to avoid catching the hat lip in the hoop. Utilize the center seam of the hat as a guide for accurate design placement while hooping. Once you’ve positioned the hoop correctly, tighten the screw securely to keep the fabric taut.
Step 2: Transfer the embroidery design.
Now that you’ve properly hooped your hat, it’s time to transfer your embroidery design onto the fabric. To do this, use a transfer paper to transfer the design. Test the marker on scrap fabric before drawing on the hat to make sure it won’t bleed or damage the fabric. Once you’ve transferred the design, double-check that it’s accurate before proceeding with the embroidery process. Remember, a well-transferred design is key to a beautiful embroidery piece.
Step 3: Thread the needle.
Choose the embroidery floss in the desired colors for your design. Please thread your needle in the appropriate manner. For finer details, use a single strand of embroidery floss. If you need thicker lines or stronger stitching, double-thread your needle.
Step 4: Start embroidering and make a knot at the back of the hat if you finish embroidery.
With your needle threaded and secured, you’re ready to start bringing your design to life by making your first stitch on the hat. Begin embroidering your design using hand embroidery techniques like back stitch, satin stitch, or French knots.
Focus on each stitch, carefully crafting your design onto the hat. As you work, keep your tension even and your stitches consistent.
If you finish embroidering, secure your thread with a knot at the back of the hat. This knot will keep your embroidery in place, preventing threads from unraveling. By making a knot, you’ll ensure a neat and tidy finish to your hand-embroidered design.
Step 5: Cut off excess threads.
Next, carefully trim the excess threads to maintain a clean finish on your hand-embroidered hat. Use sharp scissors to trim the excess threads, taking your time to ensure precise cuts. Cut off any loose or hanging threads to prevent them from snagging or unraveling the embroidery.
Tips for Hat Embroidery
Before embroidering a hat, it is important to follow some precautions to ensure that your design comes out perfectly.
Test your embroidery stitch on a fabric scrap.
Before committing to your hat design, take a few minutes to test your embroidery stitch on a fabric scrap. This step is crucial in refining your embroidery skills and gaining confidence before working on your hat.
Mark out the position of the design before embroidery.
Mark the position of your design on the hat accurately by using water-soluble marker. Take advantage of the center seam on the hat to accurately position your design.
Conclusion
You’ve successfully embroidered your hat! With precision and patience, you’ve transformed a plain hat into a unique, personalized accessory.
Remember to trim excess threads and test stitches on scrap fabric to ensure a professional finish.
Now, wear your new embroidered hat with pride, knowing you’ve added a personal touch with your own hands.